Before you begin
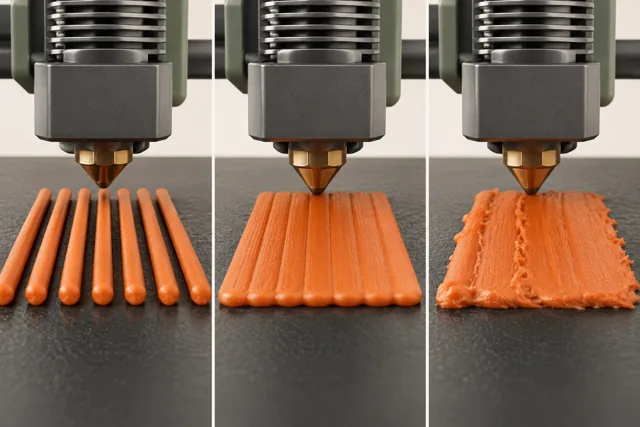
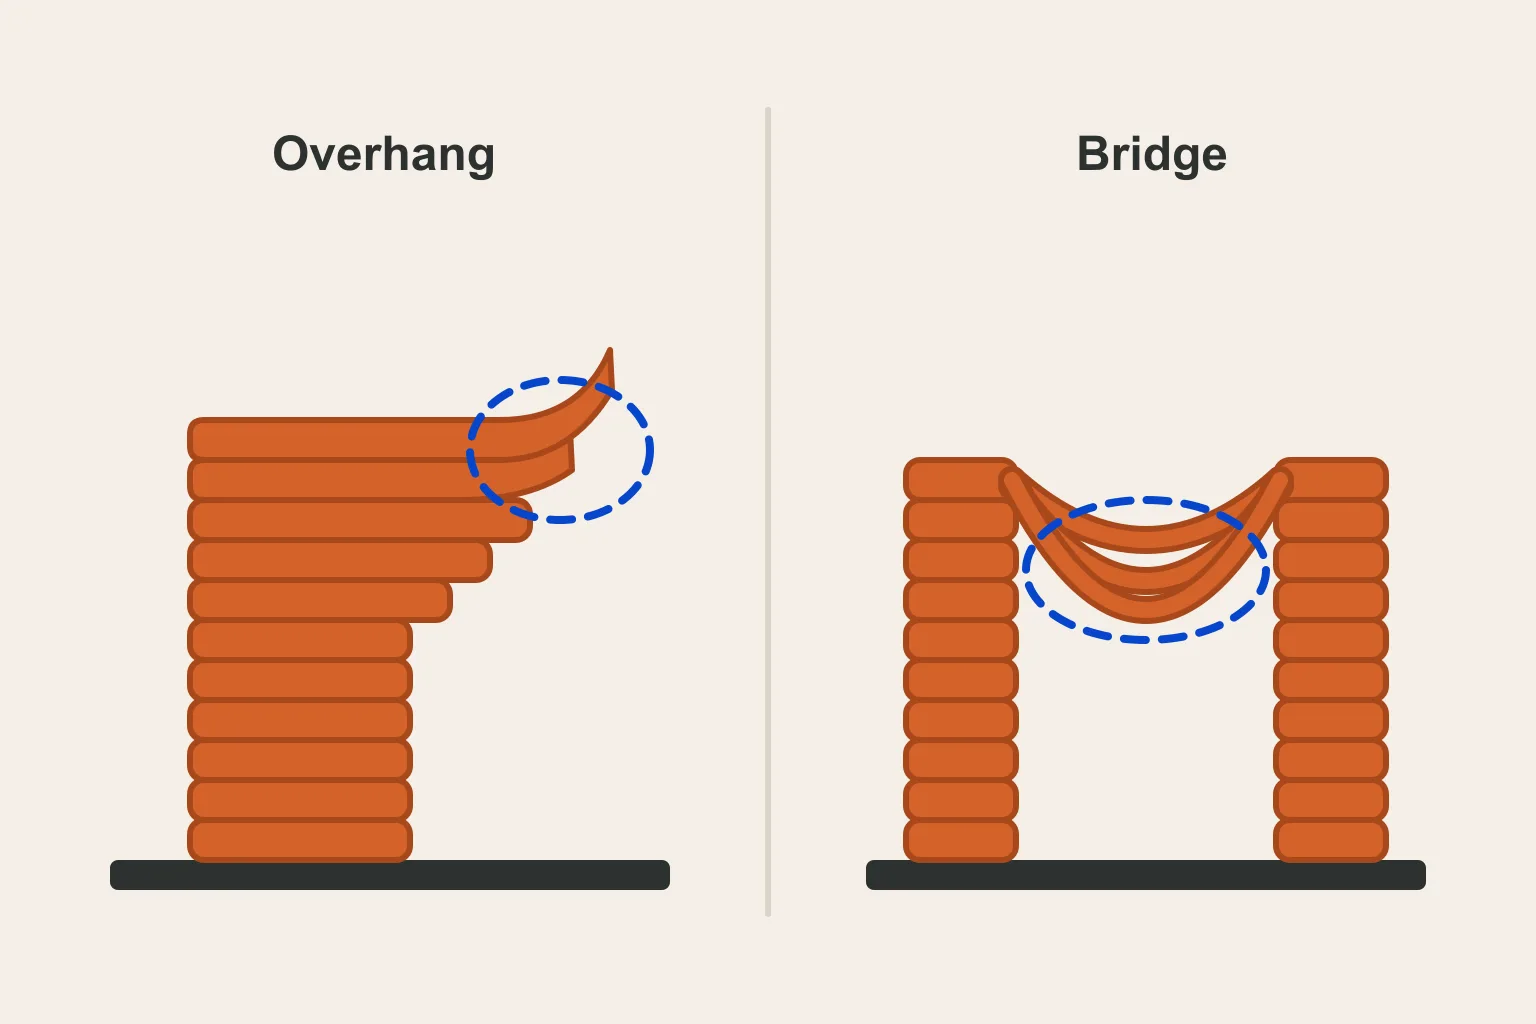
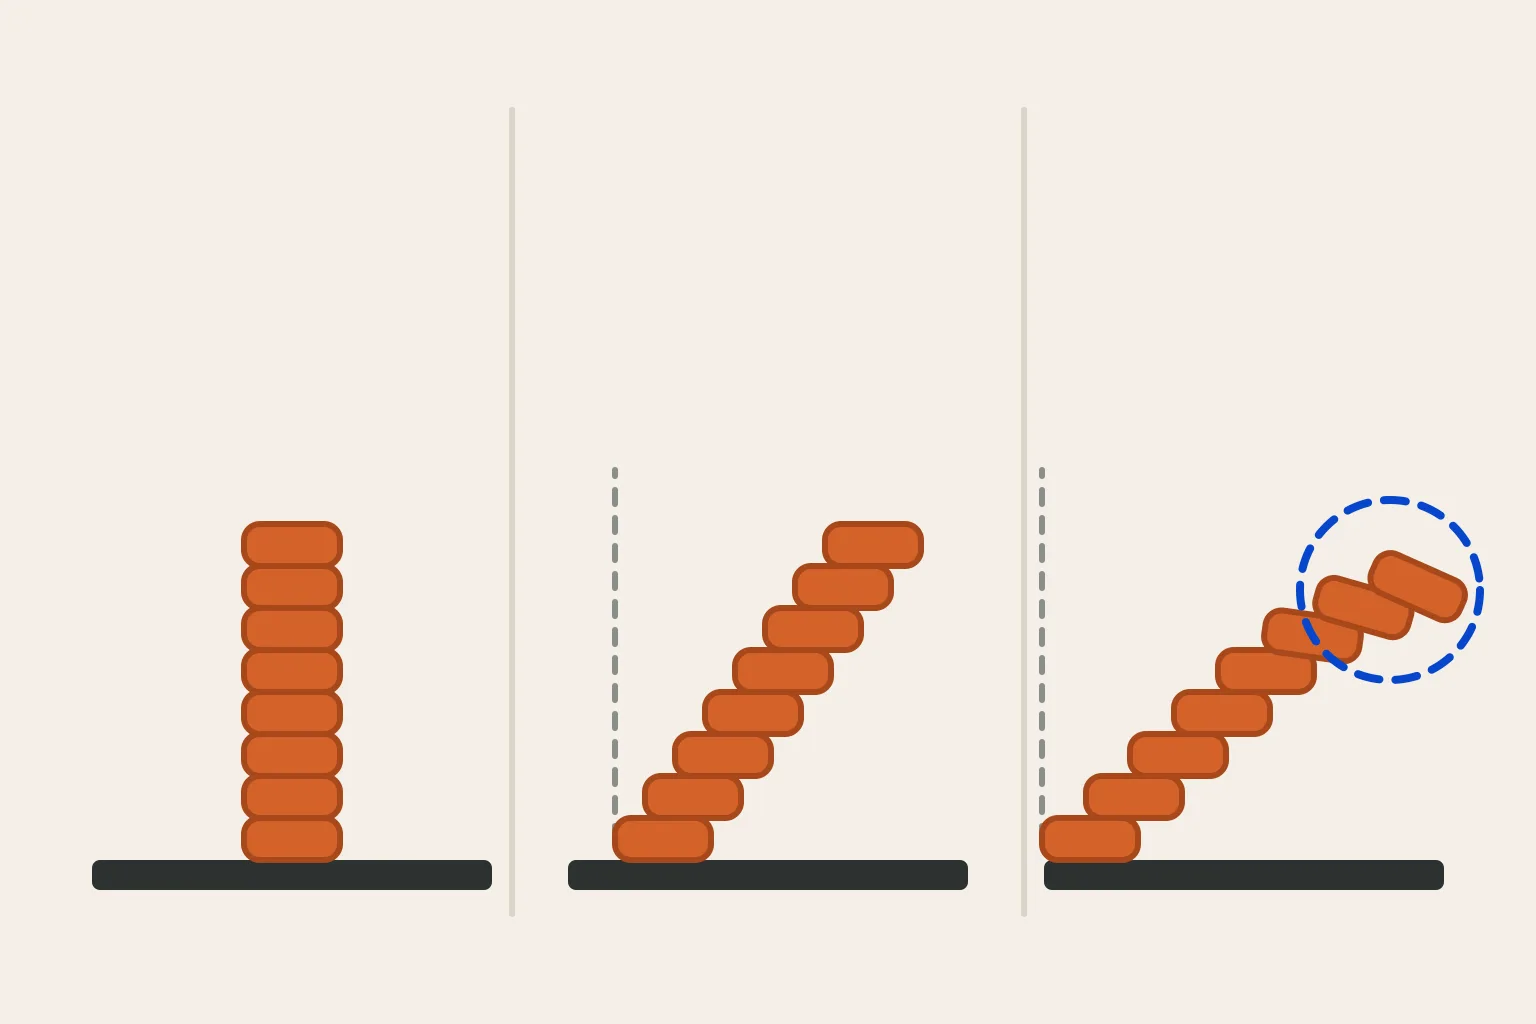
An FFF printer cannot place plastic on thin air. Every overhang is printed partly on the layer below and partly out past its edge, and every bridge is a line stretched across a gap with nothing underneath. Overhangs fail by drooping, or by curling upward at the edge. Bridges fail by sagging into loose, stringy strands. In both cases the soft plastic has to solidify before it can sag or bend.
This guide separates overhangs from bridges, explains how the common angle rule of thumb is stated by the people who make slicers and printers, and then works through the levers in order: cooling and temperature, speed, the bridge settings in PrusaSlicer, OrcaSlicer and Cura, and finally orientation, design changes and supports.
Name the fault before changing settings
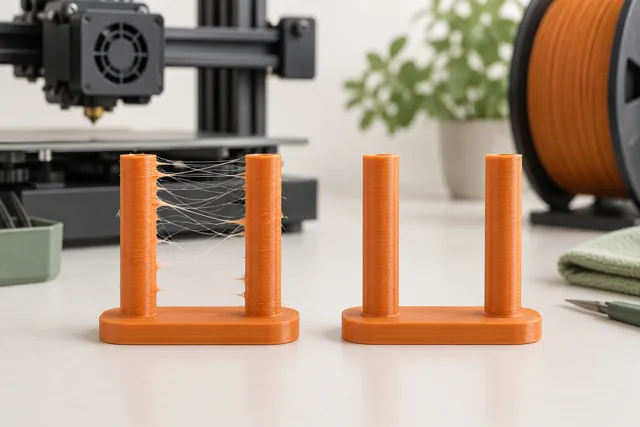
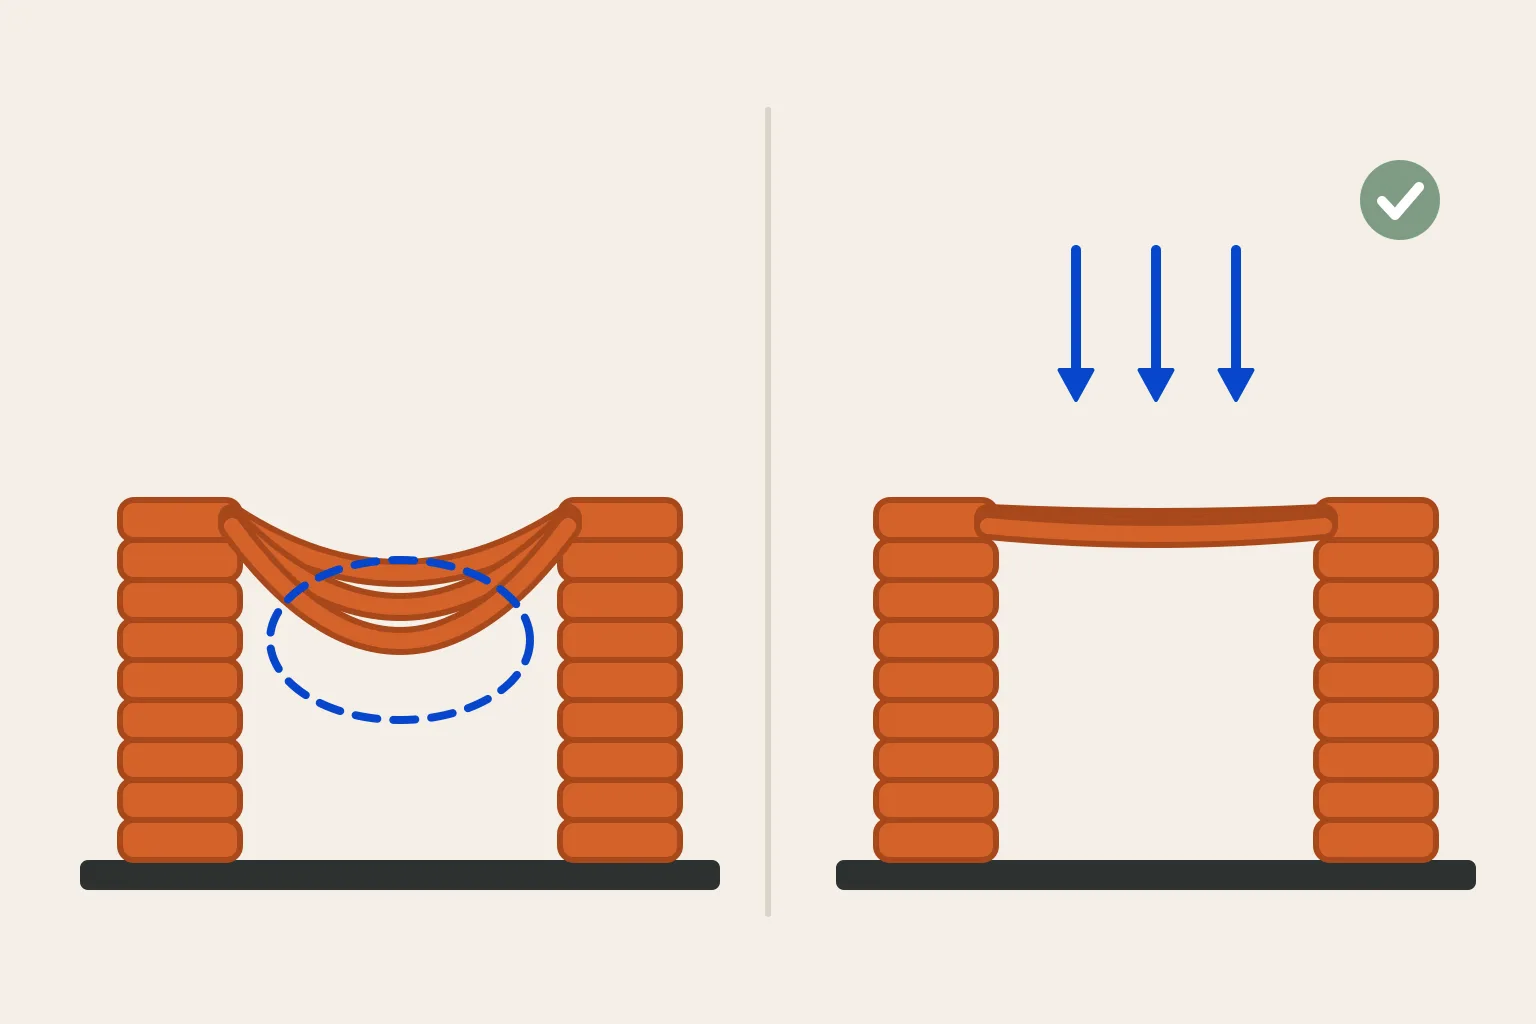
Look at the failed region in the slicer preview and on the part. An overhang is a wall that leans outward and is supported at one side only. A bridge spans a gap between two supported points. Prusa describes the typical bridge failure as sagging or drooping, and notes that bridges work best over short distances because the fan must cool the plastic in mid-air. Polymaker lists sagging, drooping and stringing as signs of a failed bridge.
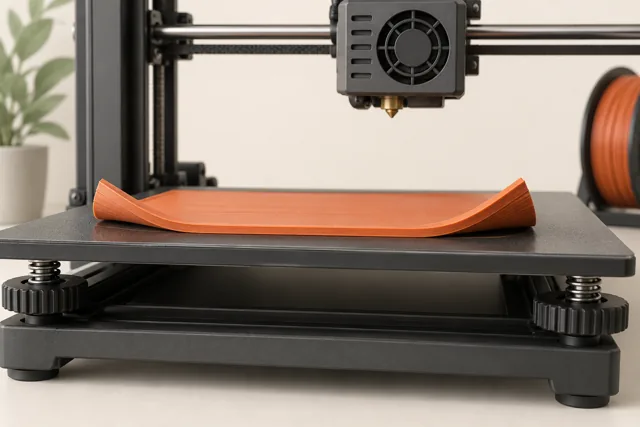
Overhang edges can also curl upward. Polymaker describes curling as layers warping upward, different from a part lifting off the bed, and says it most often comes from PLA printed with too little part cooling. Curled edges are more than cosmetic. Prusa's layer shifting guide warns that some overhangs can warp upward during a print and the nozzle may crash into them.
| What you see | Likely fault | First lever |
|---|---|---|
| Underside of a sloped wall rough or drooping | Overhang beyond what the setup can print | Cooling, then supports or orientation |
| Outer edge of an overhang bending upward | Overhang curling | Part cooling and temperature |
| Loose, sagging strands across a gap | Poor bridging | Bridge speed, cooling and flow |
| Small or pointed areas melted and shapeless | Overheating on short layers | Minimum layer time and cooling |
Read the overhang angle rule correctly
You will often hear that 45 degrees is the limit. Prusa's design guide gives a range instead: printers can cleanly print overhangs at 45 to 60 degrees depending on nozzle diameter and settings. It says printers with its Nextruder and 360-degree cooling, such as the MK4S and CORE One, can reach up to 75 degrees without supports, and that with a 0.25 mm nozzle the limit might be below 45 degrees. Polymaker recommends supports for PLA at 55 degrees or more and for ABS and ASA at 45 degrees or more, because those materials cannot use much fan.
The number you type into a slicer depends on how it measures the angle. Cura's "Support Overhang Angle" adds support at overhangs steeper than the value, where 0° supports everything and 90° supports nothing; the base definition sets it to 50°. PrusaSlicer's "Overhang threshold" is described as the most horizontal slope you can print without support, measured from the horizontal plane, with 90 meaning vertical. OrcaSlicer's "Make overhang printable" uses a maximum angle where 90° leaves the model unchanged and suggests 45° to 60° for most cases.
| Source | What it states | Measured as |
|---|---|---|
| Prusa design guide | 45 to 60 degrees, up to 75 on Nextruder printers with 360° cooling | Overhang angle; varies with nozzle and settings |
| Polymaker | Supports at 55° or more for PLA, 45° or more for ABS/ASA | Support threshold |
| Cura | Support Overhang Angle, base default 50° | 0° supports all overhangs, 90° none |
| OrcaSlicer | Make overhang printable: 45° to 60° suggested | 90° leaves the model unchanged |
Cool the plastic fast enough
Cooling is the main lever for materials that tolerate a fan. Polymaker recommends PLA with the fan off for the first layer, ramped up on the second and run at 100% after that, and asks you to confirm the fan actually works before a long print. PrusaSlicer has a "Bridges fan speed" that overrides the normal fan speed for bridges and overhangs, and "Dynamic fan speeds" that change the fan with the overlap percentage. Cura's "Bridge Fan Speed" is 100% in its base definition.
Heat also builds up when layers are short. Polymaker recommends a minimum layer time of about 3 to 5 seconds, with Cura's "Lift Head" option to move the nozzle away during the pause, and Simplify3D suggests slowing layers that take less than 15 seconds or printing two copies so each cools while the nozzle visits the other. Both Polymaker and Simplify3D suggest a lower nozzle temperature; Simplify3D gives 5 to 10 °C. Polymaker adds that PLA should not be printed in a fully closed enclosure because its glass transition is around 60 °C.
Slow down where the plastic hangs
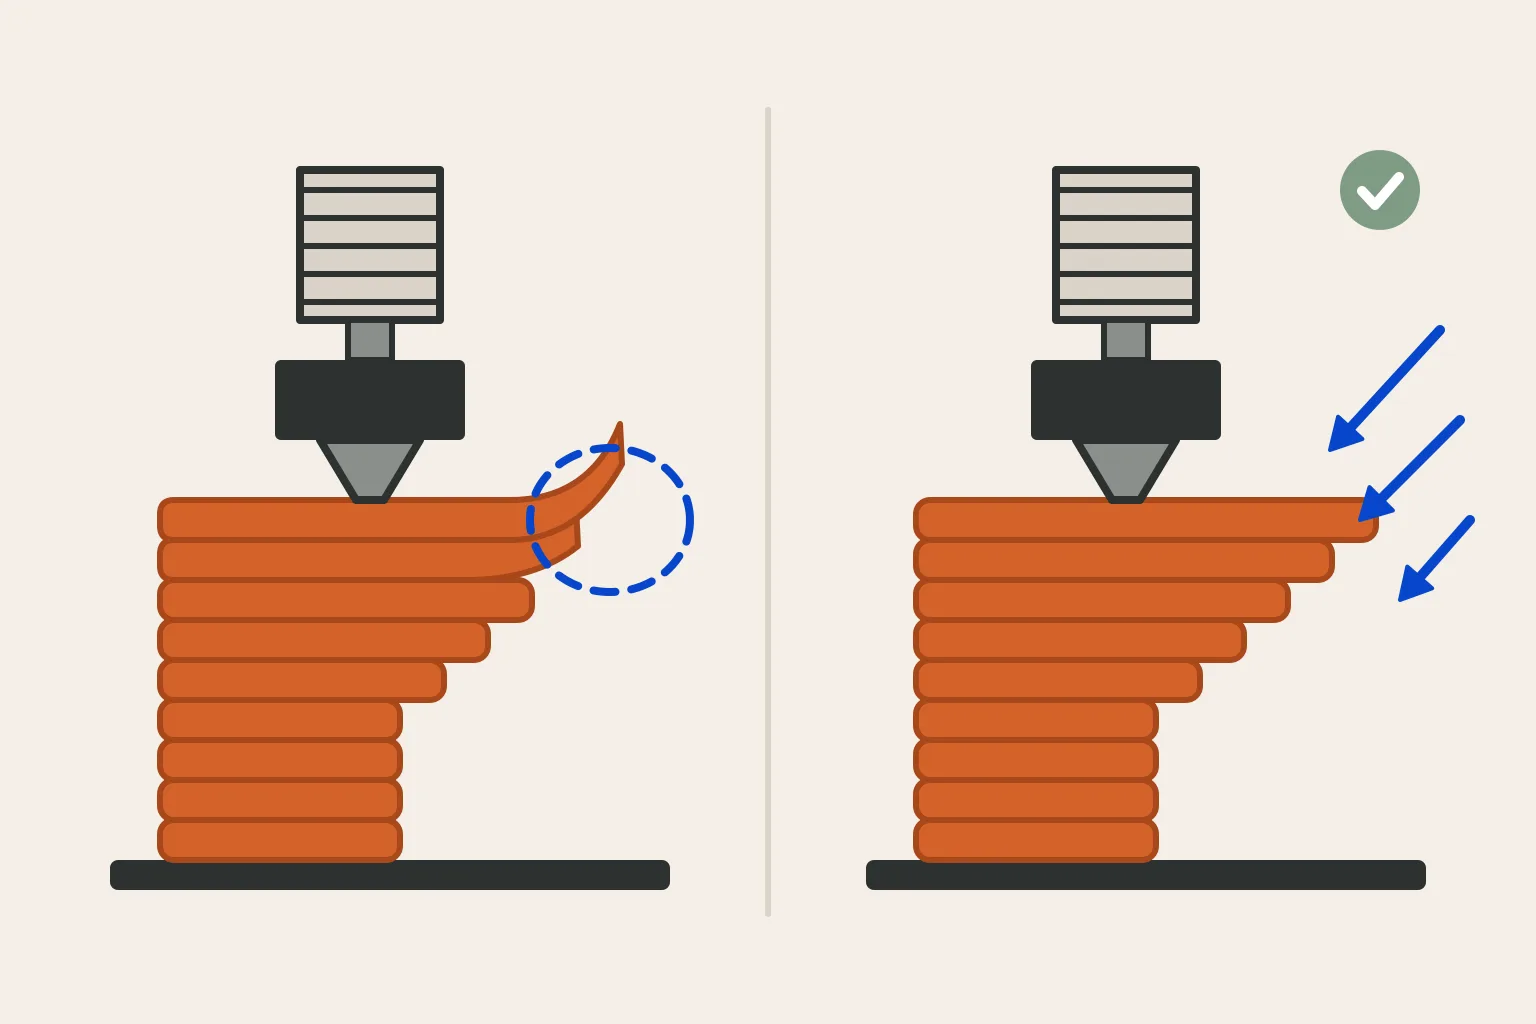
Slower lines spend more time near the fan before the next pass. Polymaker gives typical bridge speeds of 15 to 30 mm/s depending on filament and span, and Prusa recommends lower speed for bridges, set under Speed, Bridges. PrusaSlicer's "Dynamic overhang speed" slows printing on overhangs based on how much each line overlaps the previous layer, shaped by four input points. Prusa notes that acceleration limits mean small models may never reach the set speeds, and suggests switching the preview to Speed to see what the printer will actually do.
Cura offers "Overhanging Wall Angle", which is 90 in the base definition so that no walls are treated as overhangs, and "Overhanging Wall Speeds", a list of percentages such as 75, 50 and 25 that slows steeper overhangs more. OrcaSlicer's "Detect overhang wall" measures the overhang relative to line width and prints at a different speed, switching to bridge settings for a wall that is fully overhanging.
Tune bridge settings in your slicer
Each slicer detects bridges and applies separate settings to them. In PrusaSlicer, the Poor bridging article points to "Bridge flow ratio" and a lower bridge speed, and the layers article describes "Detect bridging perimeters", which enables bridging flow for overhangs and turns on the fan, and "Thick bridges", which brings back older, thicker bridge lines. OrcaSlicer documents a bridge "Flow ratio", "Bridge density", "Thick bridges" and "Extra bridge layers". In Cura, "Enable Bridge Settings" is off in the base definition; once on, it exposes bridge wall and skin speeds, flows and fan speed, plus "Bridge Has Multiple Layers".
Sources disagree about flow, so treat it as a test variable. Prusa advises a lower flow for the first bridging layer, Polymaker suggests 90 to 95%, and Cura's base definition multiplies bridge skin flow by 60%. Simplify3D takes the other side and warns that a bridging extrusion multiplier below 100% may not seal the bridge well. Prusa suggests printing bridge test models at different flow values to find the right setting for your filament.
| Slicer | Settings to look for | Documented effect |
|---|---|---|
| PrusaSlicer | Bridge flow ratio; Bridges speed; Bridges fan speed; Detect bridging perimeters; Thick bridges | Lower flow and speed on bridges, fan override, bridge flow on overhang perimeters |
| OrcaSlicer | Flow ratio; Bridge density; Thick bridges; Extra bridge layers | Lower flow can reduce sag; thick bridges trade finish for strength |
| Cura | Enable Bridge Settings; Bridge Wall/Skin Speed; Bridge Wall/Skin Flow; Bridge Fan Speed | Separate speed, flow and fan for detected bridges |
Change orientation, design or supports
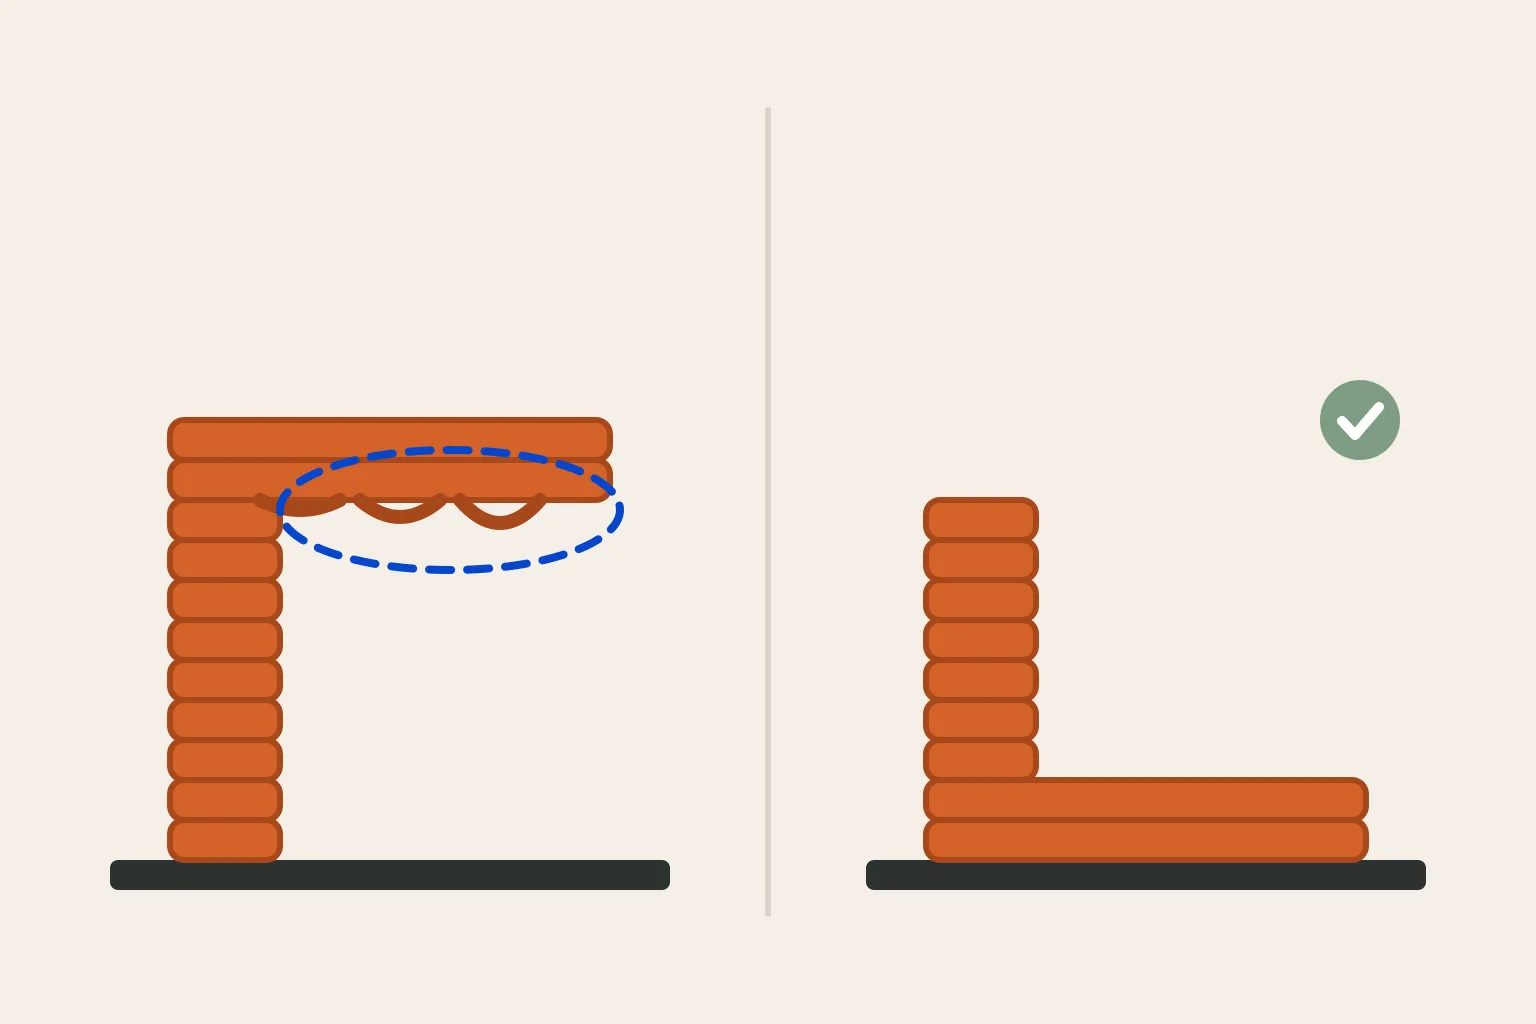
Settings have limits. Prusa calls reorienting the object the best solution when it removes a bridge entirely, and its design guide notes that splitting a model into parts can reduce the supports it needs. Polymaker suggests shortening spans in the design with small arches, ribs or support tabs. OrcaSlicer's "Make overhang printable" changes the geometry itself, filling steep overhangs with conical material.
When a span is too long, add support. Prusa suggests a support enforcer box halfway along a long bridge to split it in two, and PrusaSlicer's "Don't support bridges" option keeps support out from under spans the printer can bridge. Simplify3D also recommends supports once bridge tuning stops helping. Expect a rougher finish where support touched: Prusa notes that surfaces printed over supports will not match a side wall or a top fill.
Test, then keep the gains
Use a small test rather than your real part. Print a bridge or overhang test model once with your current profile, then change one setting at a time and label each print. Prusa recommends testing bridge flow this way. Check the sliced preview first to confirm that bridge regions are detected and that the speed and fan changes you expect are applied; Simplify3D recommends the same check with its feature-type coloring.
Keep the basics in order between tests. Polymaker lists wet filament and residue on the nozzle tip among causes of poor bridges, so dry the spool and clean the nozzle before blaming the profile. Once a setting works, save it to a named profile for that filament.
- Slice a bridge or overhang test and check the preview for bridge detection, speed and fan.
- Print it with your current settings and label the result.
- Increase cooling or reduce speed on bridges and overhangs, then reprint.
- Try two or three bridge flow values and compare.
- If the longest span still sags, add support or reorient the part.
Common questions
Why do my overhangs curl up instead of drooping?
Polymaker describes curling as layers warping upward and links it mainly to too little part cooling, high temperature, short layer times or a hot enclosure with PLA. More cooling and a minimum layer time are its first fixes.
How long a bridge can I print?
The sources give no single maximum. Prusa says short bridges print best and suggests adding a support enforcer halfway along long spans. Test your own printer and filament with a bridge test model.
Why do slicers show different overhang angles?
They measure differently. Cura's Support Overhang Angle runs from 0° (support everything) to 90° (support nothing), while PrusaSlicer describes its overhang threshold as measured from the horizontal plane.
Do ABS and ASA need support sooner than PLA?
Polymaker recommends supports at 45° or more for ABS and ASA, compared with 55° or more for PLA, because those materials are printed with little or no fan.
Continue with the sources
- Poor bridging Prusa Research · Checked 2026-11-02
- Poor Bridging Polymaker · Checked 2026-11-02
- Curling of Layers and Angles Polymaker · Checked 2026-10-16
- Layer shifting Prusa Research · Checked 2026-11-02
- Ugly Tops of Prints or Ugly Thin Prints Polymaker · Checked 2026-11-02
- Overheating Simplify3D · Checked 2026-11-02
- Modeling with 3D printing in mind Prusa Research · Checked 2026-10-15
- fdmprinter.def.json (Cura setting definitions) UltiMaker · Checked 2026-11-02
- Support material Prusa Research · Checked 2026-10-15
- Overhangs OrcaSlicer · Checked 2026-11-02
- Cooling Prusa Research · Checked 2026-11-02
- Speed settings Prusa Research · Checked 2026-11-02
- Layers and perimeters Prusa Research · Checked 2026-10-15
- Bridging OrcaSlicer · Checked 2026-11-02
- Poor Bridging Simplify3D · Checked 2026-11-02
This guide synthesizes the cited references and includes illustrative examples, not hands-on test results. Follow the instructions for your exact printer, material, and software version. Diagrams simplify geometry and equipment; they are not photographs, measured results, or model-specific setup instructions.