Before you begin
A material data sheet describes measured behavior under stated conditions. It can help you shortlist materials, but it does not promise that every printed shape will reproduce every listed value. The useful skill is connecting each property to the way your part will be loaded, manufactured, finished, and used.
Start with the job, then read the numbers. A locating fixture, a flexible latch, and a display model ask different questions of the same data table. This guide explains the common terms, shows how to compare test conditions, and develops a simple decision record so that a material choice can be checked and repeated rather than defended by a product name.
Write the requirement before comparing materials
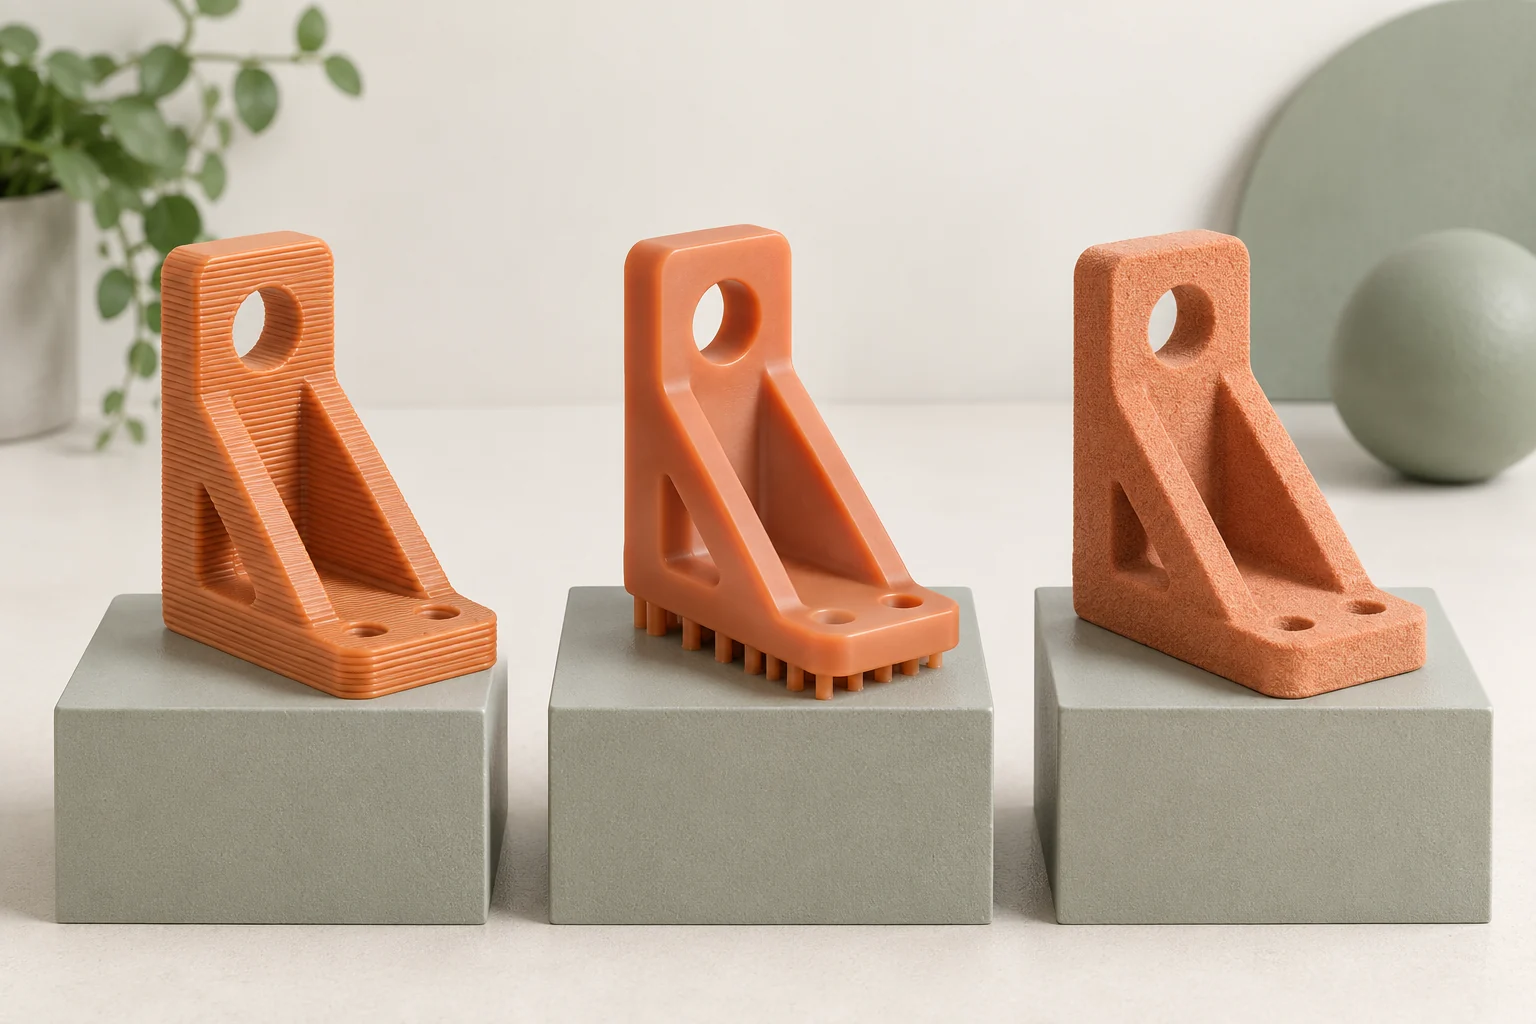
Describe what the part must do in observable terms. For a locating fixture, the requirement might be to hold a feature within a chosen position under a defined load. For a reusable latch, it might be to engage repeatedly without breaking or losing retention. These descriptions are more useful than asking for the strongest or most engineering-grade material.
Our suggested requirement sheet has five fields: load or movement, acceptable deformation, environment, expected duration or repetitions, and failure consequence. Add dimensional and surface requirements where relevant. Fill in known values and mark uncertainties explicitly. A small prototype trial can resolve an uncertain fit, while a demanding load-bearing application may require a more formal engineering assessment. The point is to make the unanswered question visible before selecting a resin or filament.
Separate strength from stiffness and toughness
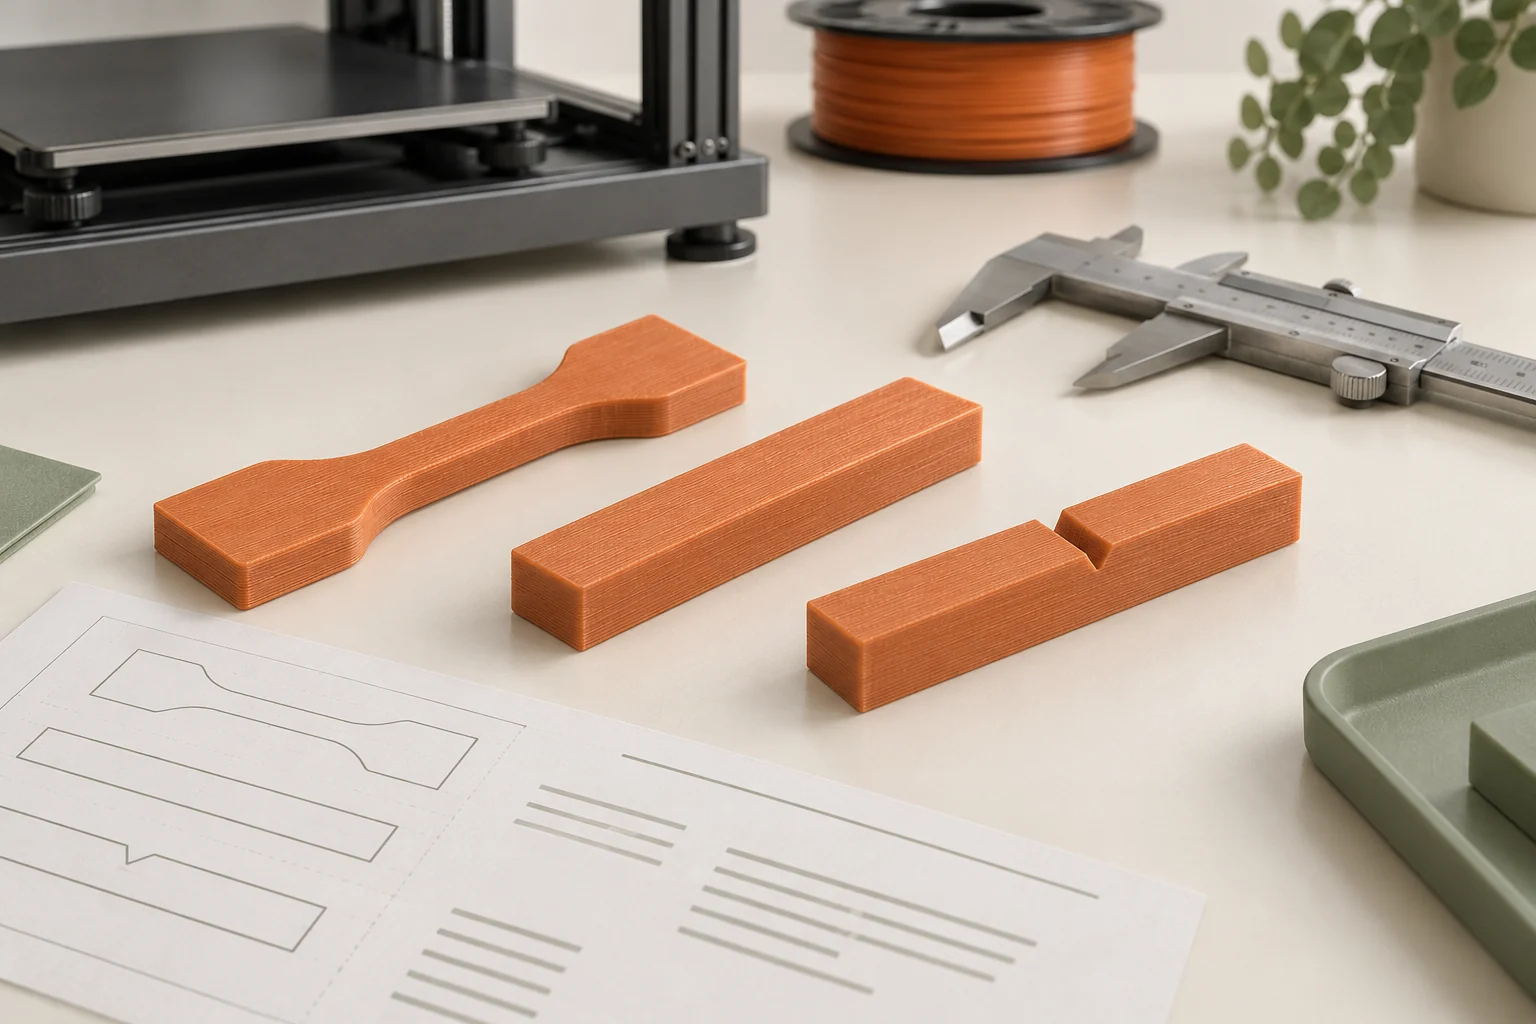
Tensile strength concerns resistance to failure in a tension test. Modulus describes stiffness in the specified test: a higher value generally means less strain for the same stress within the relevant response region. Elongation at break reports extension at failure. Impact testing describes behavior under a sudden loading event and depends on its method, including whether the specimen is notched.
For our fixture, stiffness may matter because the part must stay in position even if it never approaches breaking. For the latch, the allowable repeated motion and local geometry matter as well as a one-time tensile result. A material can be stiff yet crack under impact. Use the property that relates to the observed failure mode, and avoid ranking all candidates by whichever column happens to contain the largest number.
| Property | Question it helps answer | What it does not establish alone |
|---|---|---|
| Modulus | How stiff is the tested material? | Whole-part deflection |
| Tensile strength | How does the specimen resist tension? | Impact or fatigue life |
| Elongation at break | How far did the specimen extend before failure? | A safe repeated bend |
| Impact result | How did it respond in that impact test? | Performance in every drop scenario |
Make the comparison use the same language
Compare units and test methods before comparing values. MPa and GPa are both stress units but differ by a factor of one thousand. A notched impact result and an unnotched result describe different specimens. A tensile modulus and a flexural modulus arise from different tests. Copying these into one column without labels makes a tidy spreadsheet but an unreliable comparison.
Our suggested comparison table includes the material and version, property name, value, unit, standard, specimen condition, and a link to the source. Leave a blank where the supplier does not report the property; do not substitute a similar number from another grade. If two candidates use different methods or conditions, label that mismatch and decide what additional evidence is needed before treating them as equivalent.
Read orientation and conditioning as part of the result
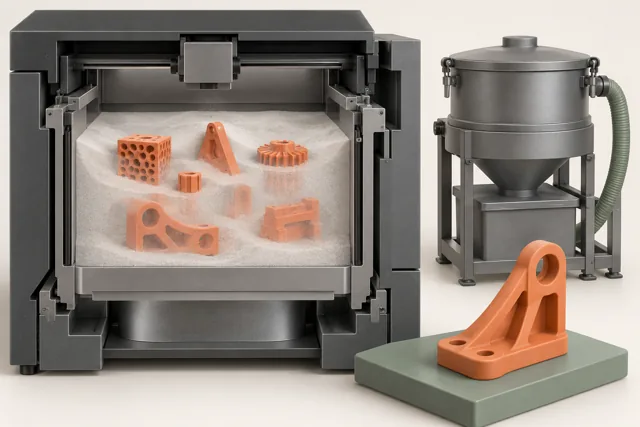
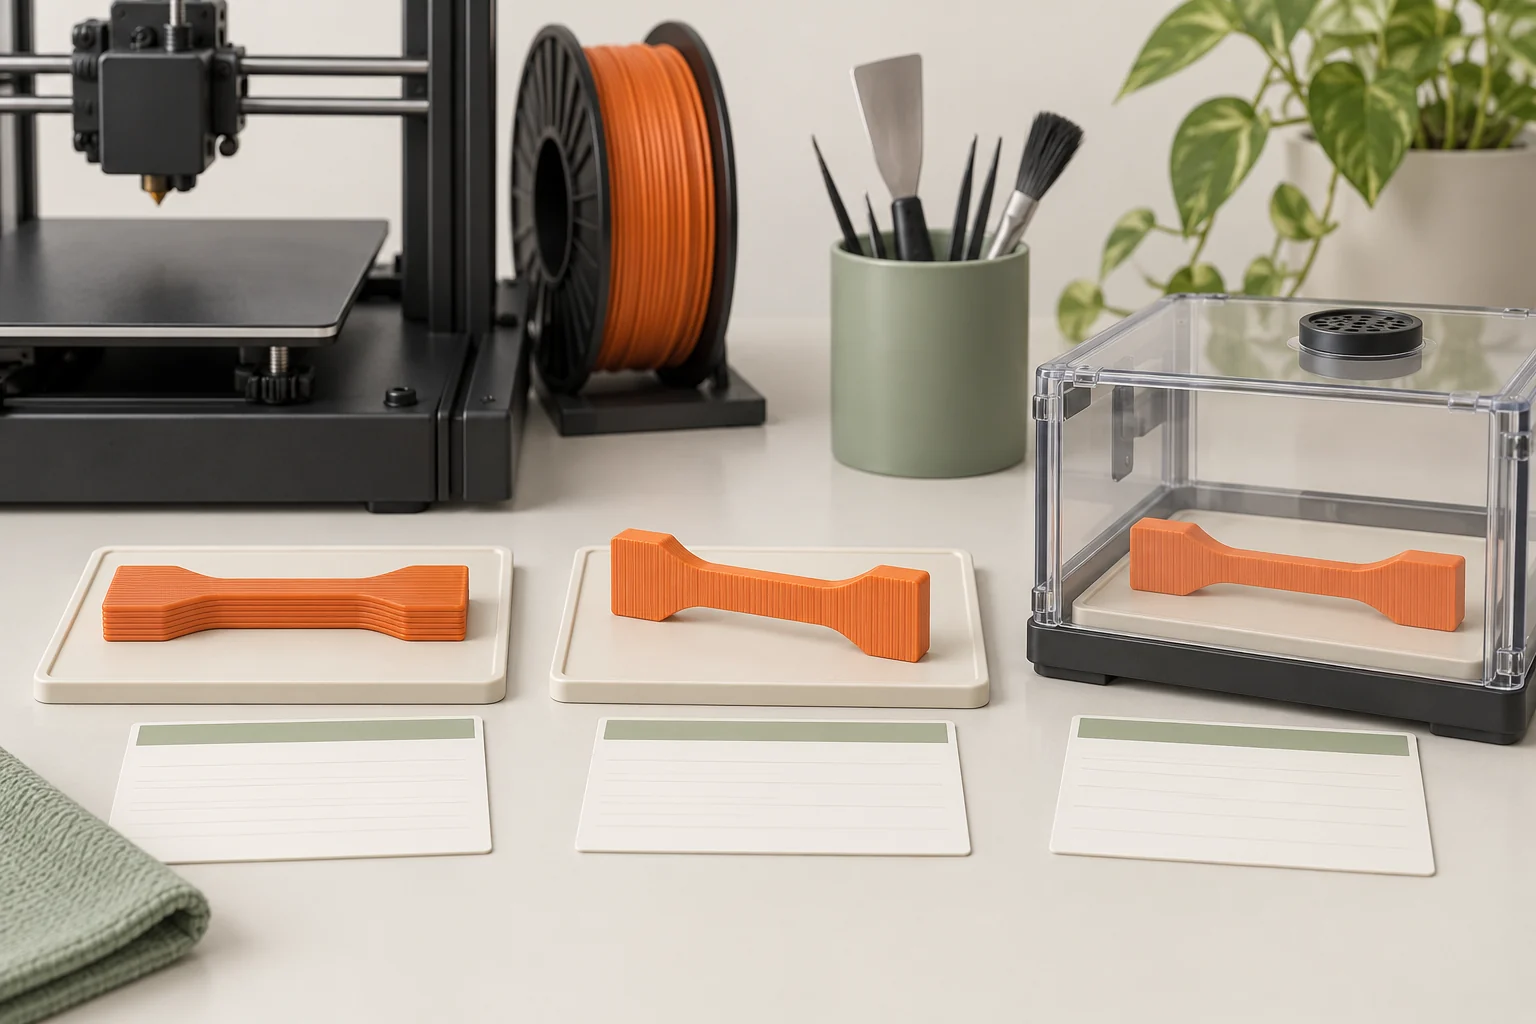
A printed specimen has a manufacturing history. The data sheet may specify printer, build direction, layer settings, curing, and environmental conditioning. Formlabs' Nylon 12 sheet, for example, reports elongation separately for X/Y and Z, and its footnotes identify the printer and conditioning used. Those details qualify the result; they are not optional fine print.
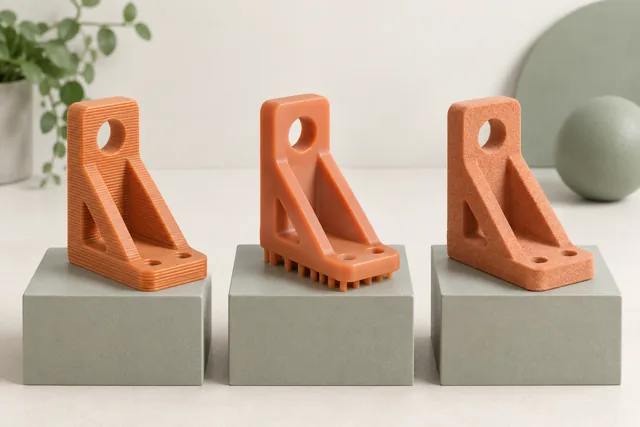
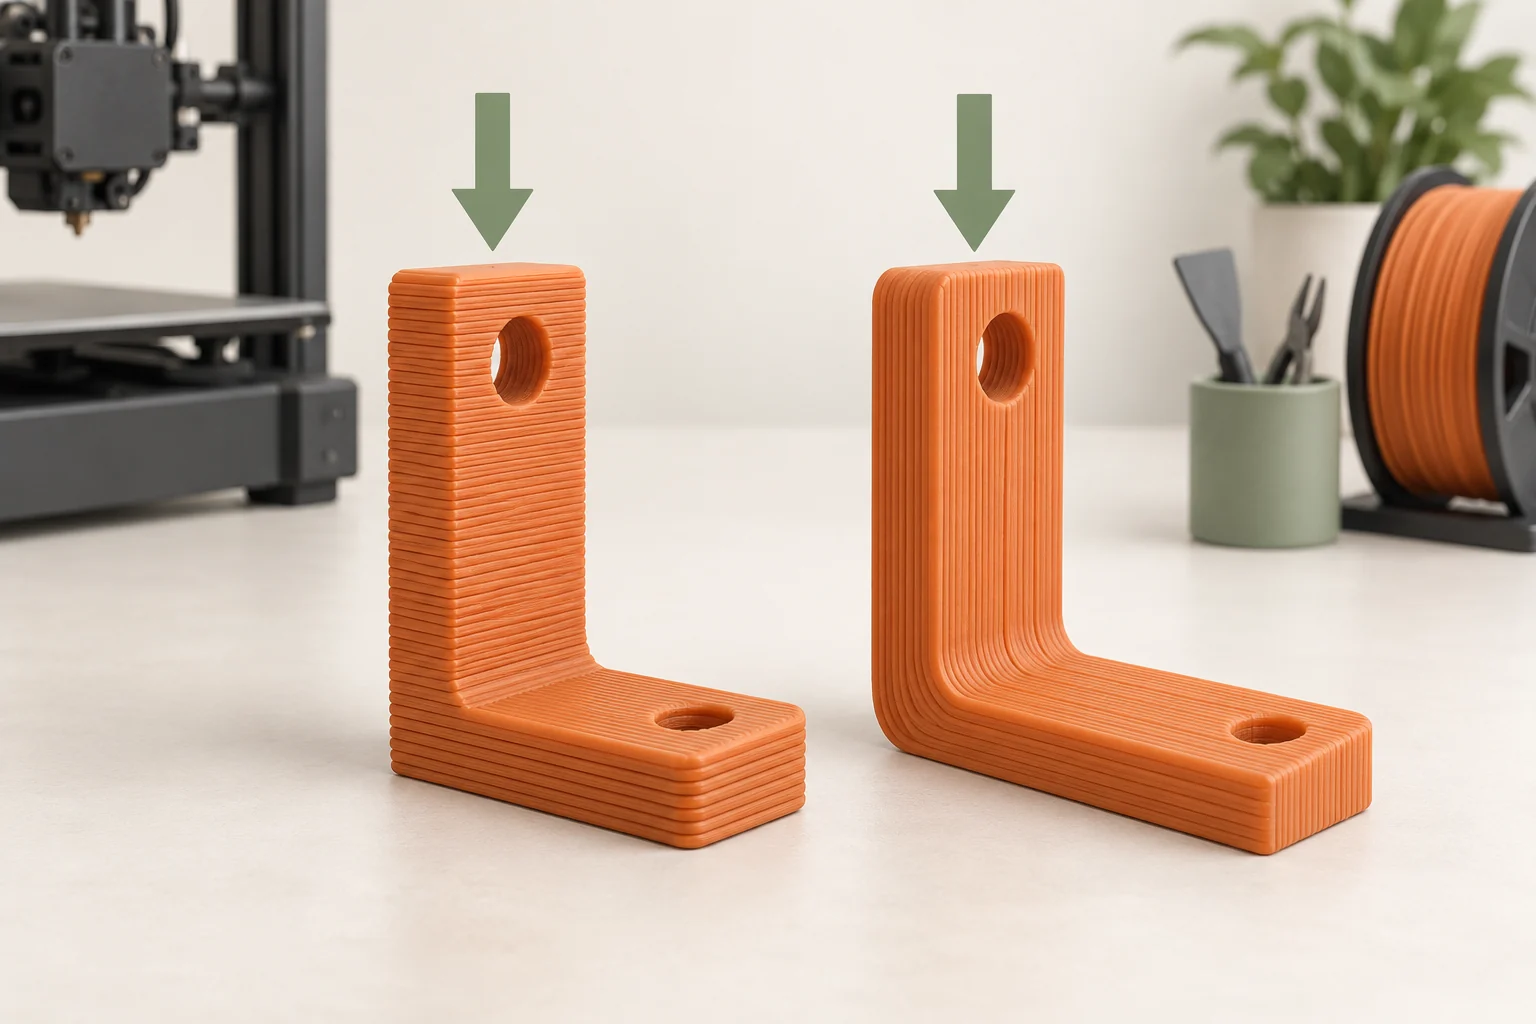
For the latch example, mark the direction of the most important bending or tension relative to the planned build orientation. Then ask which reported specimen condition most closely resembles that arrangement. Our suggested trial holds the geometry and finishing constant while comparing relevant orientations. Keep the specimens labeled throughout processing. Otherwise a successful sample can lose its value as evidence because nobody can reconstruct how it was produced.
Interpret heat data in the context of the load
Heat-deflection temperature is tied to a specified test and applied stress. A value at one test load is not a universal continuous-use temperature for every printed shape. The Nylon 12 sheet illustrates this by listing heat-deflection results at different applied stresses. The part's geometry, load, exposure duration, and acceptance criteria still matter when translating a test result into an application.
Imagine a cover near a warm motor and a clamp supporting weight in the same location. The environment may be similar, but the allowable movement and loading differ. Our suggested validation plan records temperature at the relevant location, the time exposed, the applied load, and the measured change in fit or shape. Define the acceptable change before the trial. A part that survives a brief warm encounter has not demonstrated performance for a long loaded service period.
Distinguish technical data, safety data, and certification
A technical data sheet describes performance and processing information. A safety data sheet addresses hazards and handling. Neither should be replaced by a marketing label such as tough, eco, or engineering. For resin, the printed and post-cured conditions may differ, so the exact manufacturing route must accompany any performance claim used in the decision.
For specialized applications, look for documentation covering the particular material, process, and intended use. A broad family name or the fact that another product in that family has been evaluated does not establish that your finished part is qualified. Our practical record keeps technical and safety documents alongside any application-specific instructions, with version dates. If the material or workflow changes, review the relevant evidence instead of carrying the old conclusion forward automatically.
Turn the shortlist into a useful validation trial
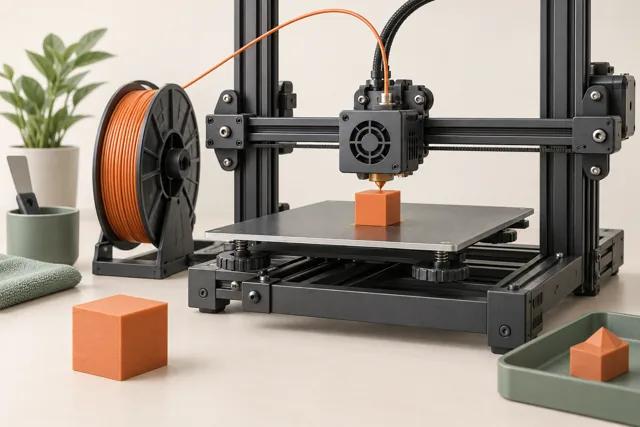
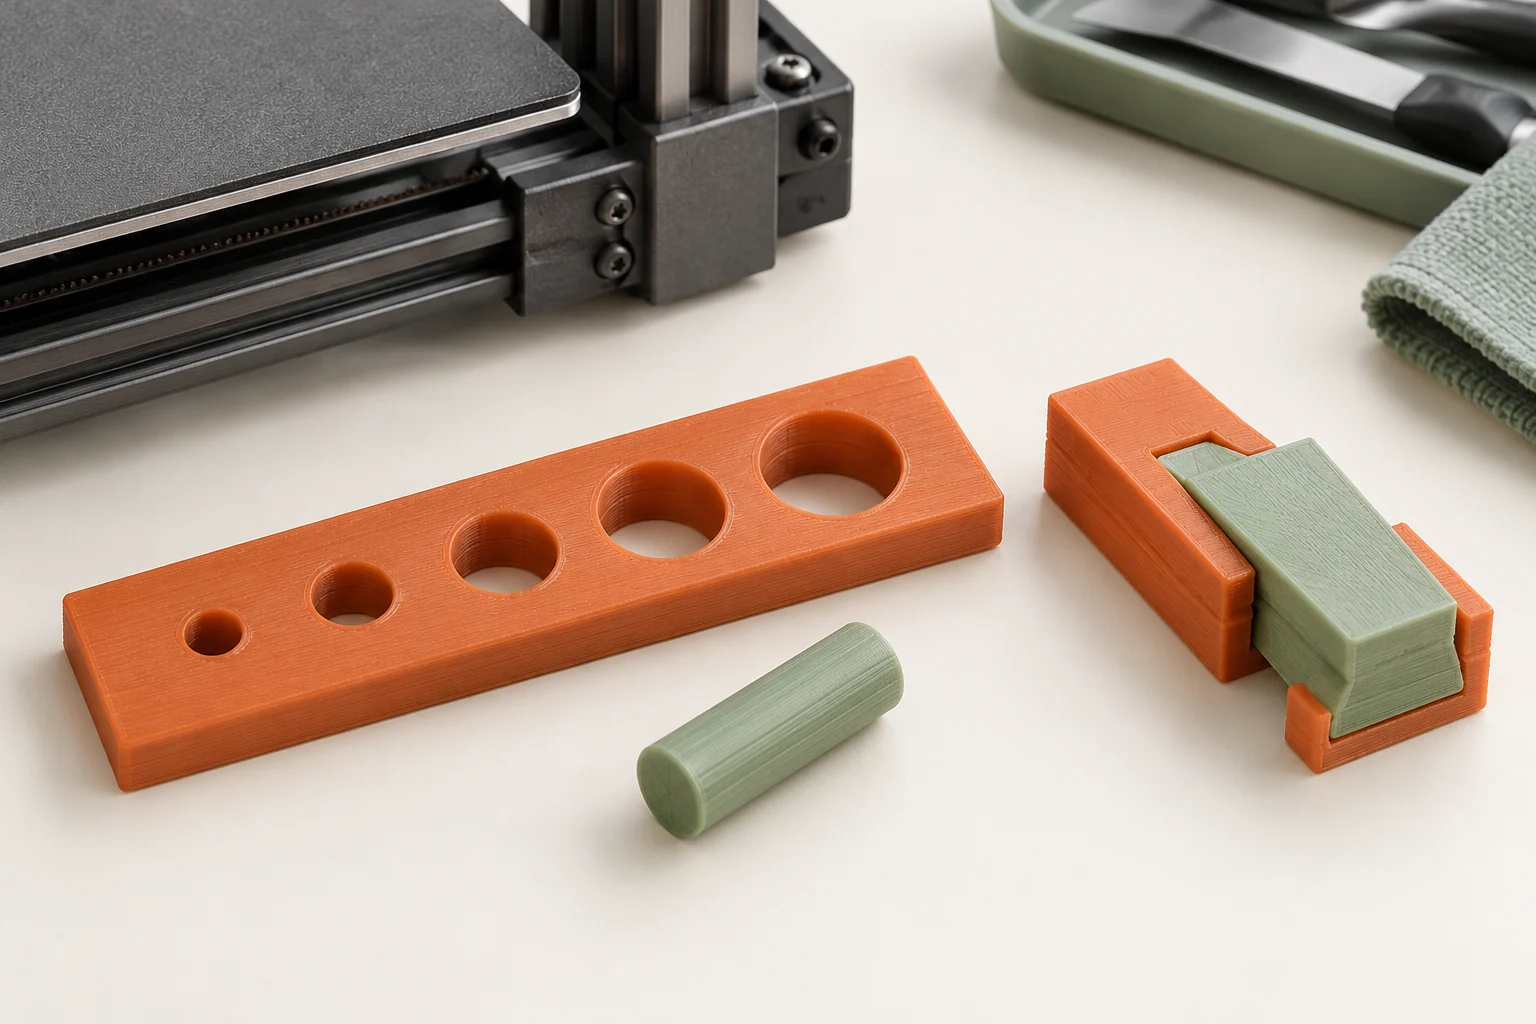
Select a small number of materials that address the important requirements and are compatible with the available equipment. Print representative geometry, complete the required finishing, and inspect it under defined conditions. A generic cube may confirm basic dimensions but say little about a thin latch root, threaded boss, sealing face, or long loaded span. Choose the test feature to match the real uncertainty.
Our suggested report states the question, specimen identity, manufacturing conditions, test method, result, and next decision. For a housing, that could include lid engagement and the clearance around a connector after the complete finishing process. Keep failed samples and photographs long enough to compare them with revisions. If a new design changes wall thickness, load path, orientation, or finishing, consider whether the earlier trial still represents the part you intend to make.
- Define functional and environmental acceptance criteria.
- Shortlist exact material grades using comparable data.
- Record manufacturing and conditioning requirements.
- Test representative finished geometry.
- Document the result and the limits of what the trial demonstrates.
Common questions
Is the material with the highest tensile strength always best?
No. A fixture may need stiffness, a latch may need repeated deflection, and a protective shell may need impact performance. Choose properties around the actual loading and failure mode.
Can I use heat-deflection temperature as the part's safe operating temperature?
Not by itself. The reported result belongs to a particular test and load. Evaluate the finished geometry under its actual load, temperature, and duration requirements.
Does a data sheet guarantee my printed part's performance?
It reports the supplier's specified test conditions. Use those results to guide selection, then validate the manufactured part and document the conditions your conclusion covers.
Continue with the sources
- How to Choose the Right 3D Printing Material Formlabs · Checked 2026-10-15
- Nylon 12 Powder Technical Data Sheet Formlabs · Checked 2026-10-15
- Safety with Formlabs SLA products Formlabs · Checked 2026-10-15
- 3D printing post-processing FAQs Formlabs · Checked 2026-10-15
This guide synthesizes the cited references and includes illustrative examples, not hands-on test results. Follow the instructions for your exact printer, material, and software version. Generated illustrations simplify geometry and equipment; they are not photographs, measured results, or model-specific setup instructions.