Before you begin
Choosing a 3D-printing process is easier when you begin with the part rather than a machine specification. A sculpted display figure, a large assembly mock-up, and a complex nylon housing can reward different workflows. The best choice is the one that produces your needed result with an amount of preparation, finishing, and ongoing handling you can actually support.
Filament, resin, and powder describe common feedstocks, not three interchangeable quality levels. Here we compare desktop filament extrusion, vat photopolymerization, and polymer selective laser sintering. Metal powder systems have substantially different requirements and are outside this beginner comparison. The examples below are decision exercises; validate your own geometry and material before assigning a final application.
Turn the intended object into a short brief
List the largest dimensions, smallest feature that must survive, surfaces that need to look good, and interfaces that must fit another object. Then list the environment: indoors or outdoors, occasional handling or repeated flexing, room temperature or exposure to heat. 'Strong' is too vague; a stiff cover and a flexible clip solve different problems.
For example, a 180 mm electronics enclosure might need legible labels, four fastening locations, a removable lid, and a clean front panel. That brief immediately suggests test features. A smooth decorative sample without a screw boss will tell you little about the mounting design. If the application involves consequential loads or regulated use, a generic material name is not evidence of suitability.
Understand what filament extrusion gives you
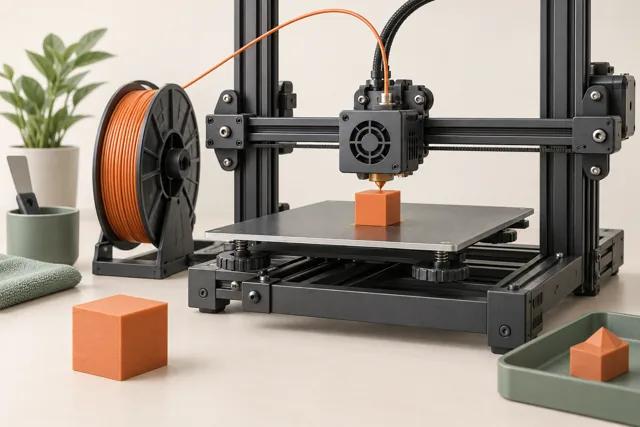
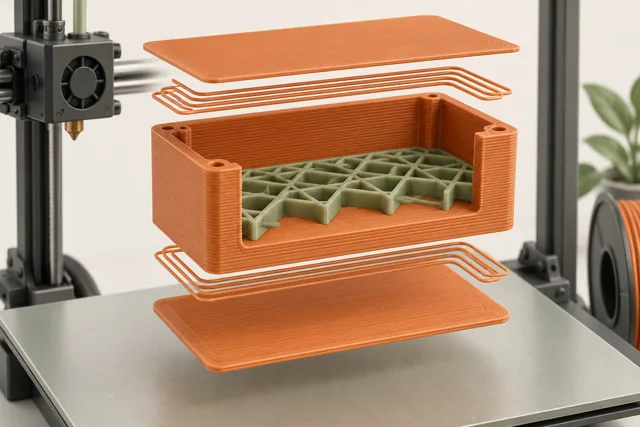
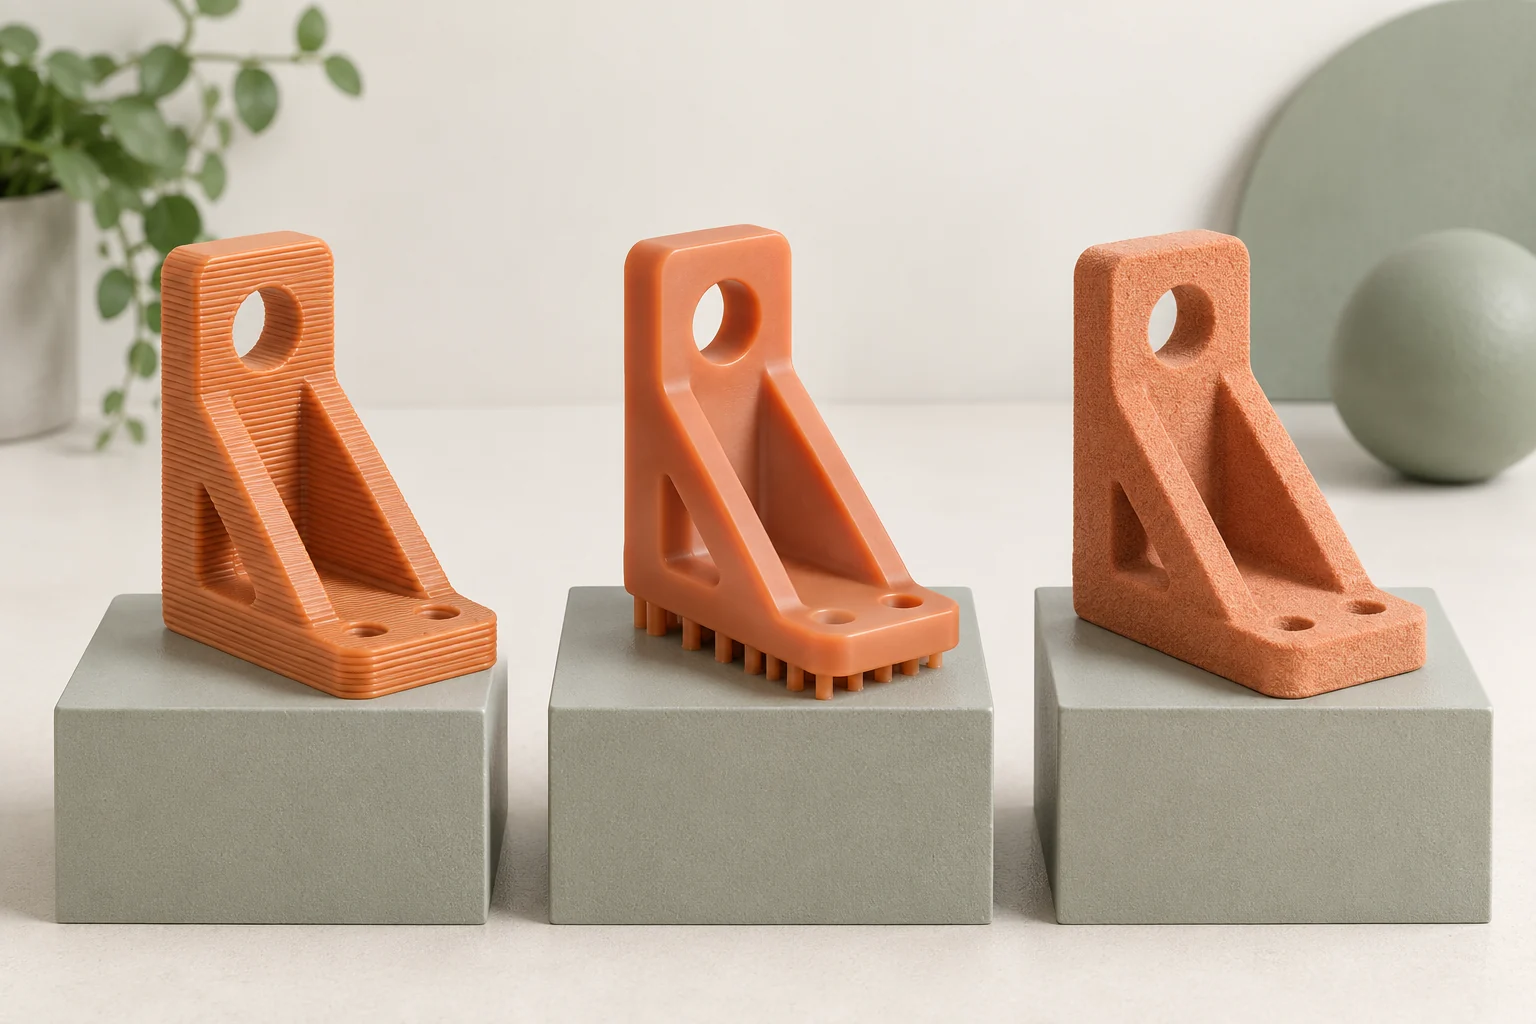
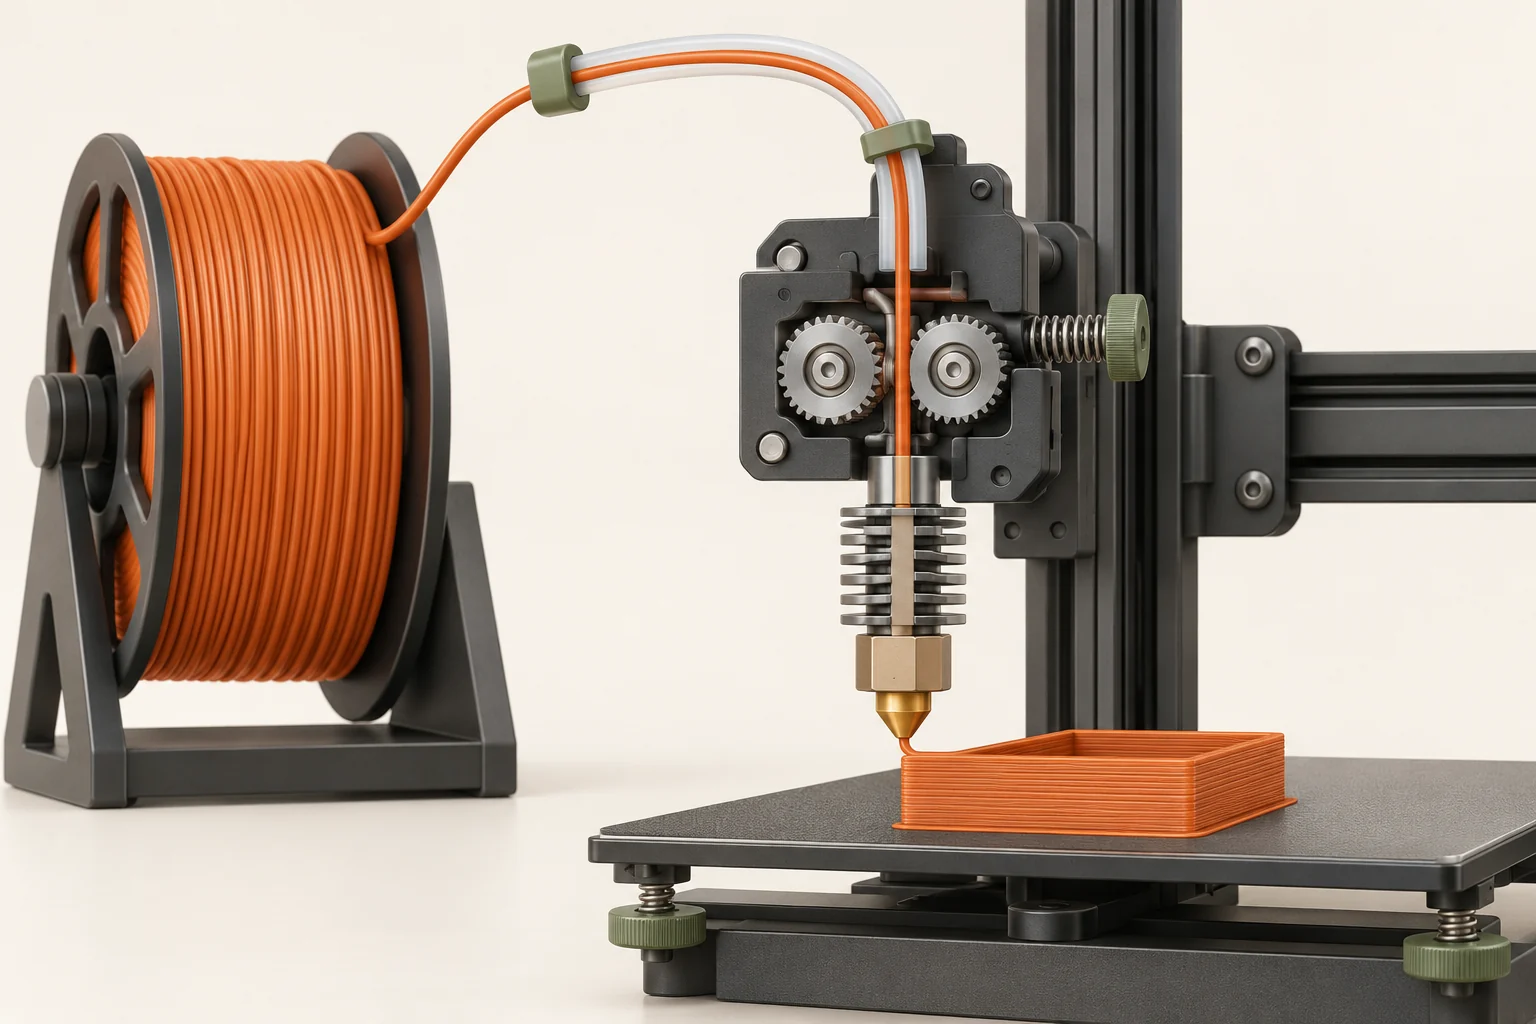
A filament printer feeds thermoplastic through a heated nozzle and follows paths that form each layer. The shell, interior pattern, and build orientation are visible manufacturing choices. Toolpaths make it straightforward to inspect how much material surrounds a hole or where a thin feature disappears. Surfaces that face supports can look different from upward-facing surfaces.
For our enclosure, filament printing makes a useful route to checking the overall dimensions and assembly sequence. You might print just a corner with a fastening feature before committing to the full box. A visible layer texture may be acceptable inside the enclosure while the front panel deserves a separate orientation. Decide which surfaces matter instead of judging the entire part by the least attractive face.
Understand what resin printing adds to the job
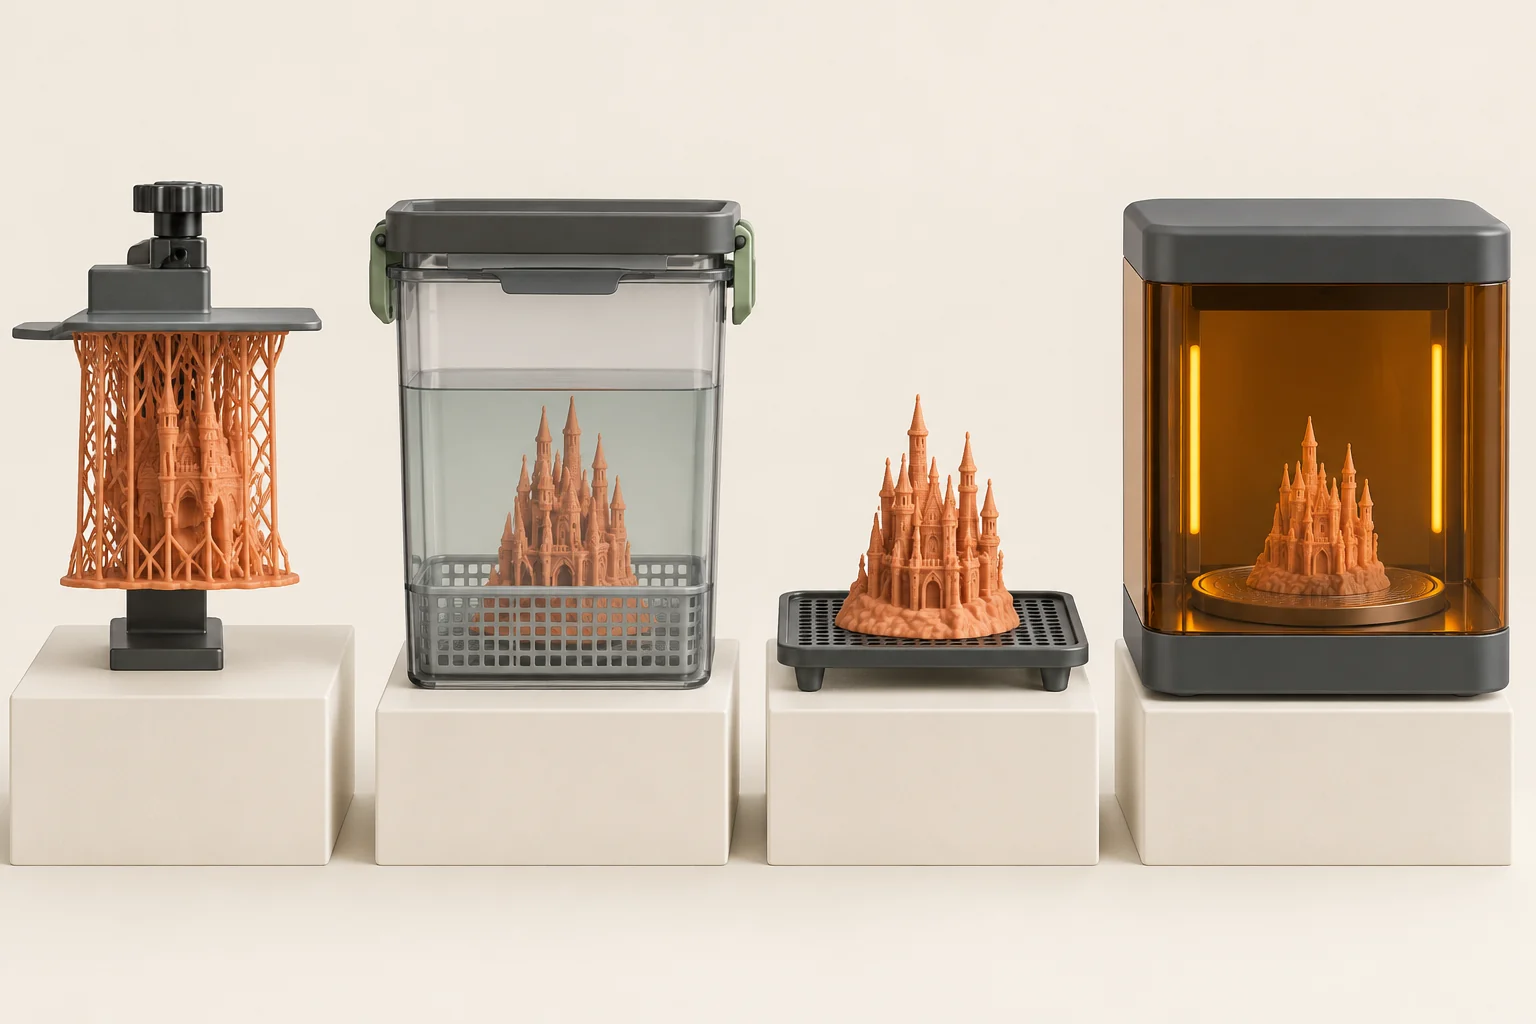
Vat photopolymerization selectively hardens liquid resin with light. Laser SLA, DLP, and LCD-based systems implement that idea differently. Resin printing can be useful when fine surface features are important, but the part leaving the printer is not the end of the process: the supported cleaning and, where required, post-curing sequence are part of making the final material.
Consider a small display figure with facial detail and a textured base. A representative sample should include both the face and a supported underside, because the polished promotional view may hide the surface that needs cleanup. Also consider how you will transfer a wet part, close wash containers, and manage contaminated tools. The right material must match the printer and finishing process, not simply have a favorable description.
Understand the polymer SLS route
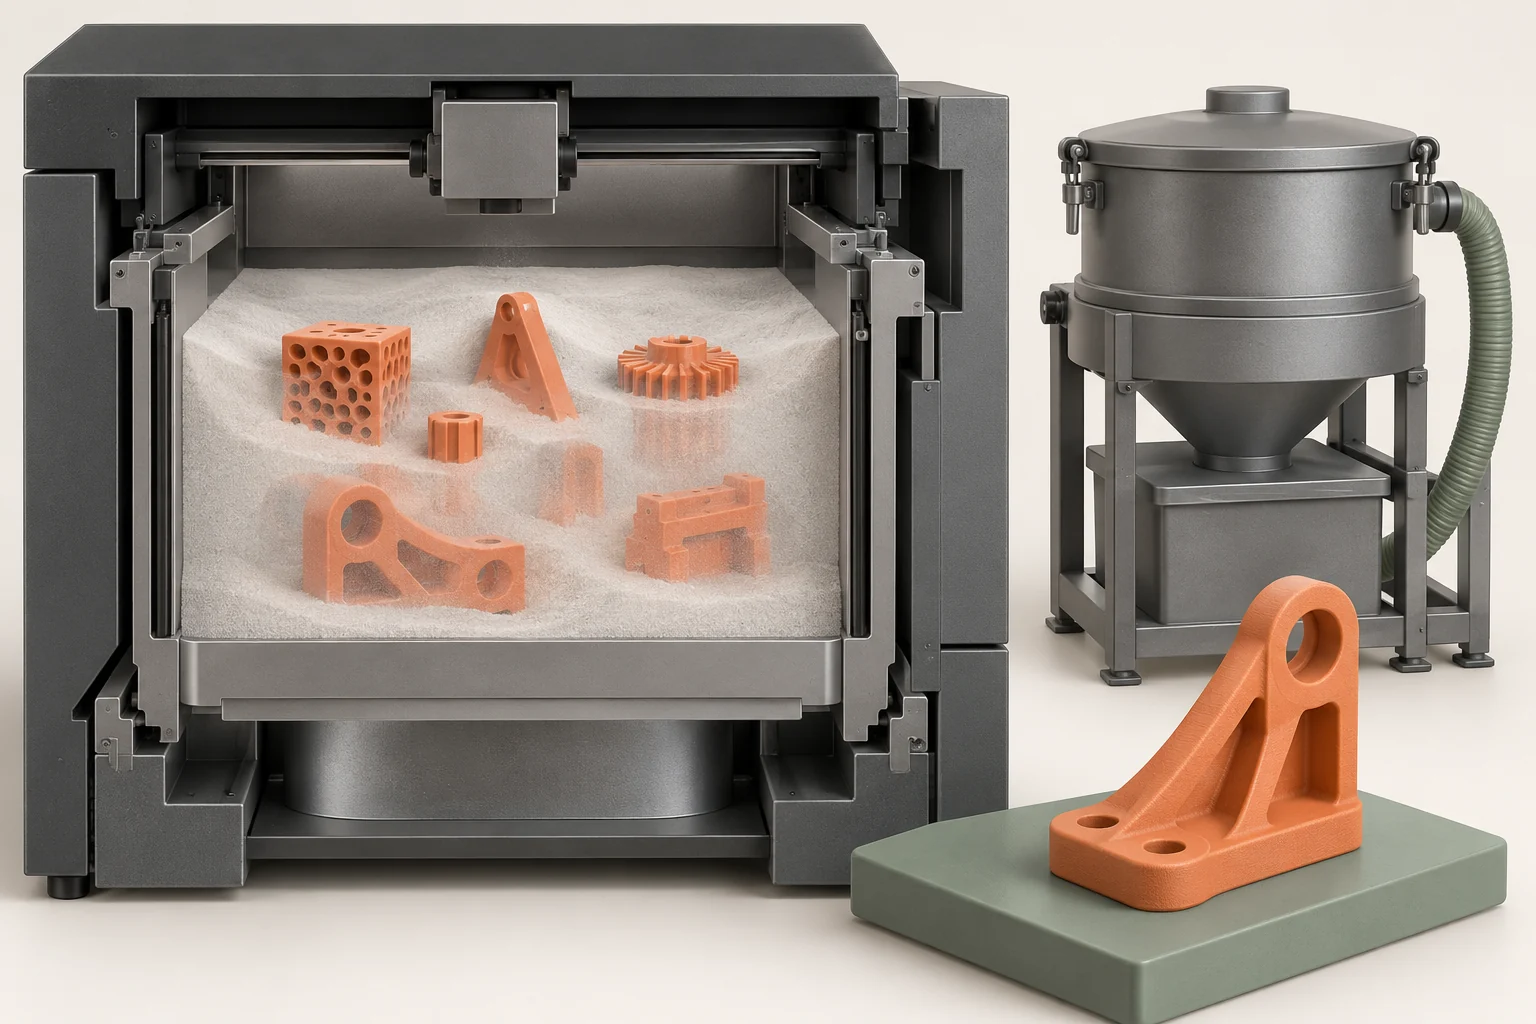
Polymer SLS uses a laser to fuse selected areas of a powder layer. Loose powder surrounding the object supports it during the build, so the design does not need the same attached support scaffolding used in many filament and resin jobs. The workflow still includes cooling, recovering parts, and removing powder. An enclosed channel needs a realistic cleaning route.
For our enclosure, SLS becomes interesting if a design includes interlocking geometry or a batch of different nested parts. Obtain a sample or service quotation before treating equipment ownership as the only route. Ask the provider about the actual material, orientation, dimensional expectations, accessible passages, and finish. A channel that can be modeled is not necessarily a channel that can be fully cleared of powder.
| Process in this comparison | Build principle | Additional work to include |
|---|---|---|
| Filament extrusion | Nozzle lays thermoplastic paths | Plate release, support removal, surface finishing |
| Vat photopolymerization | Light hardens liquid resin | Washing, required curing, contaminated-material handling |
| Polymer SLS | Laser fuses powder regions | Cooling, depowdering, recovery and finishing |
Compare a sample using measurable outcomes
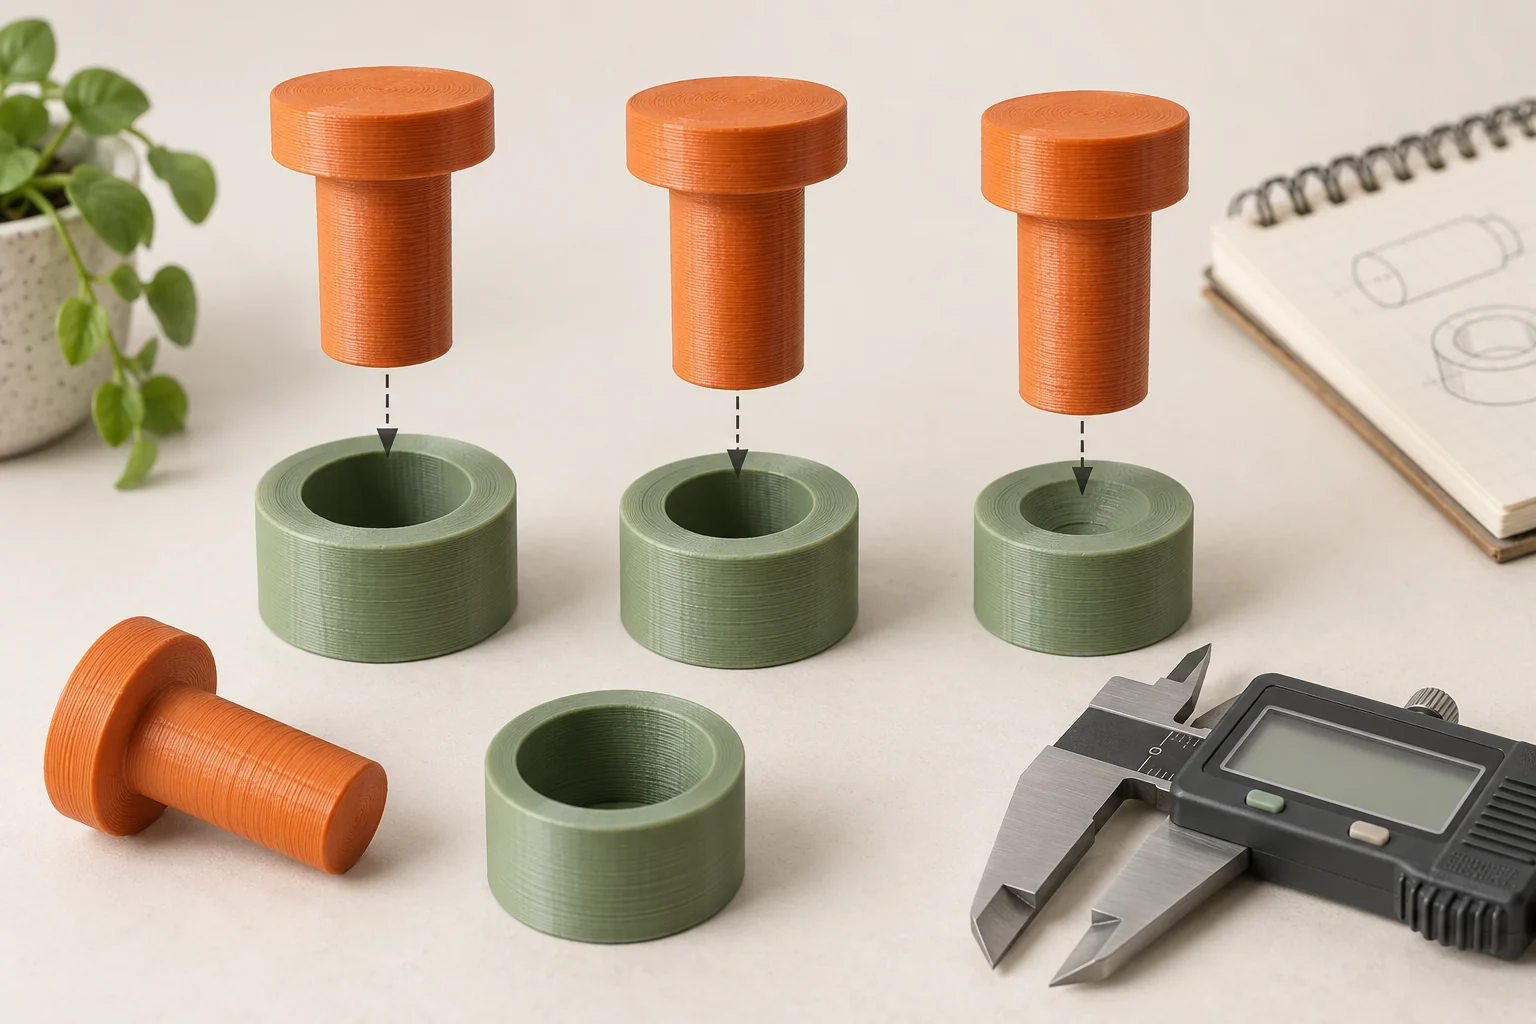
Use the same design intent for each candidate. It may need process-specific orientation or support preparation; forcing identical preparation can create a misleading contest. Keep the critical dimensions and acceptance criteria consistent. Photograph the same surfaces in the same light and test the same mating part. Write down cleanup time instead of remembering which process felt easier.
A practical enclosure trial could contain a lid corner, a label, a fastener feature, and an internal channel. Check whether the lid assembles without forced bending, whether the label is legible at its actual viewing distance, and whether the channel can be cleaned. These are original comparison tasks, not performance promises. If a process wins on appearance but fails the interface, the sample has usefully exposed the tradeoff.
- Define acceptance before ordering or printing samples.
- Record the exact material and finishing state for each sample.
- Measure and assemble before cosmetic rework.
- Compare only results that meet the functional requirement.
Count accepted parts and the whole calendar
Material consumed is only one component of cost. Add machine time, setup, consumables, finishing labor, failed attempts, and outsourced delivery where relevant. Separate hands-on time from elapsed time: a long cooling period may need little attention but still delay the next step. A fast build that leaves hours of cleanup can be a poor fit for a small workshop.
Here is an illustrative calculation, not market pricing. If a batch costs 60 units of currency and yields six accepted parts, its direct cost is 10 per accepted part. If a second route costs 48 but only three parts meet the brief, it costs 16 per accepted part. Add your labor and other costs consistently to both. That simple denominator prevents low material use from disguising repeated failures.
Choose the route that meets the brief with a manageable workflow, then preserve the settings and supplier details that produced the sample. Revisit the decision when the material, part size, quantity, or service conditions change. A successful choice for one enclosure revision is a useful result, not a permanent ranking of the three technologies.
Common questions
Is resin always more accurate than filament?
No universal ranking follows from the process name. Fine visible detail, dimensional accuracy, fit, and repeatability are different measurements. Compare the actual geometry, machine, material, orientation, and finishing process.
Do I have to buy a powder printer to try SLS?
No. A service sample can answer geometry, fit, and finish questions before you take on equipment and powder handling. Make the sample representative and ask what material and finishing route were used.
Can the cheapest printer still be the most expensive option?
Yes, for a particular workload. Repeated failures, long finishing steps, and unsuitable materials can dominate the purchase-price difference. Compare a realistic number of accepted parts over the period you expect to use the equipment.
Continue with the sources
- Additive Manufacturing Technologies NIST · Checked 2026-10-15
- Guide to Stereolithography (SLA) 3D Printing Formlabs · Checked 2026-10-15
- Selective Laser Sintering (SLS): Complete Guide Formlabs · Checked 2026-10-15
- How to Choose the Right 3D Printing Material Formlabs · Checked 2026-10-15
- Modeling with 3D printing in mind Prusa Research · Checked 2026-10-15
- Safe Desktop Vat Photopolymerization 3-D Printing CDC / NIOSH · Checked 2026-10-15
- How to Optimize 3D Printing Tolerances for Engineering Fits Formlabs · Checked 2026-10-15
This guide synthesizes the cited references and includes illustrative examples, not hands-on test results. Follow the instructions for your exact printer, material, and software version. Generated illustrations simplify geometry and equipment; they are not photographs, measured results, or model-specific setup instructions.