Before you begin
A part can look perfect and still not fit. Bambu Lab's warning signs are familiar: screws or bolts that will not go into printed holes, parts that need sanding or force to assemble, and holes that measure smaller than designed. Simplify3D names the usual causes as under- or over-extrusion, thermal contraction, filament quality and the nozzle position on the first layer.
The right fix depends on the pattern of the error, so this guide starts with measuring properly. It then works through flow, material shrinkage, the hole and contour compensation settings in common slicers, and the mechanical checks that sources support. Designing clearances between mating parts is covered in the fit tolerances guide; this one is about making the printer reproduce the model's size.
Measure before you change anything
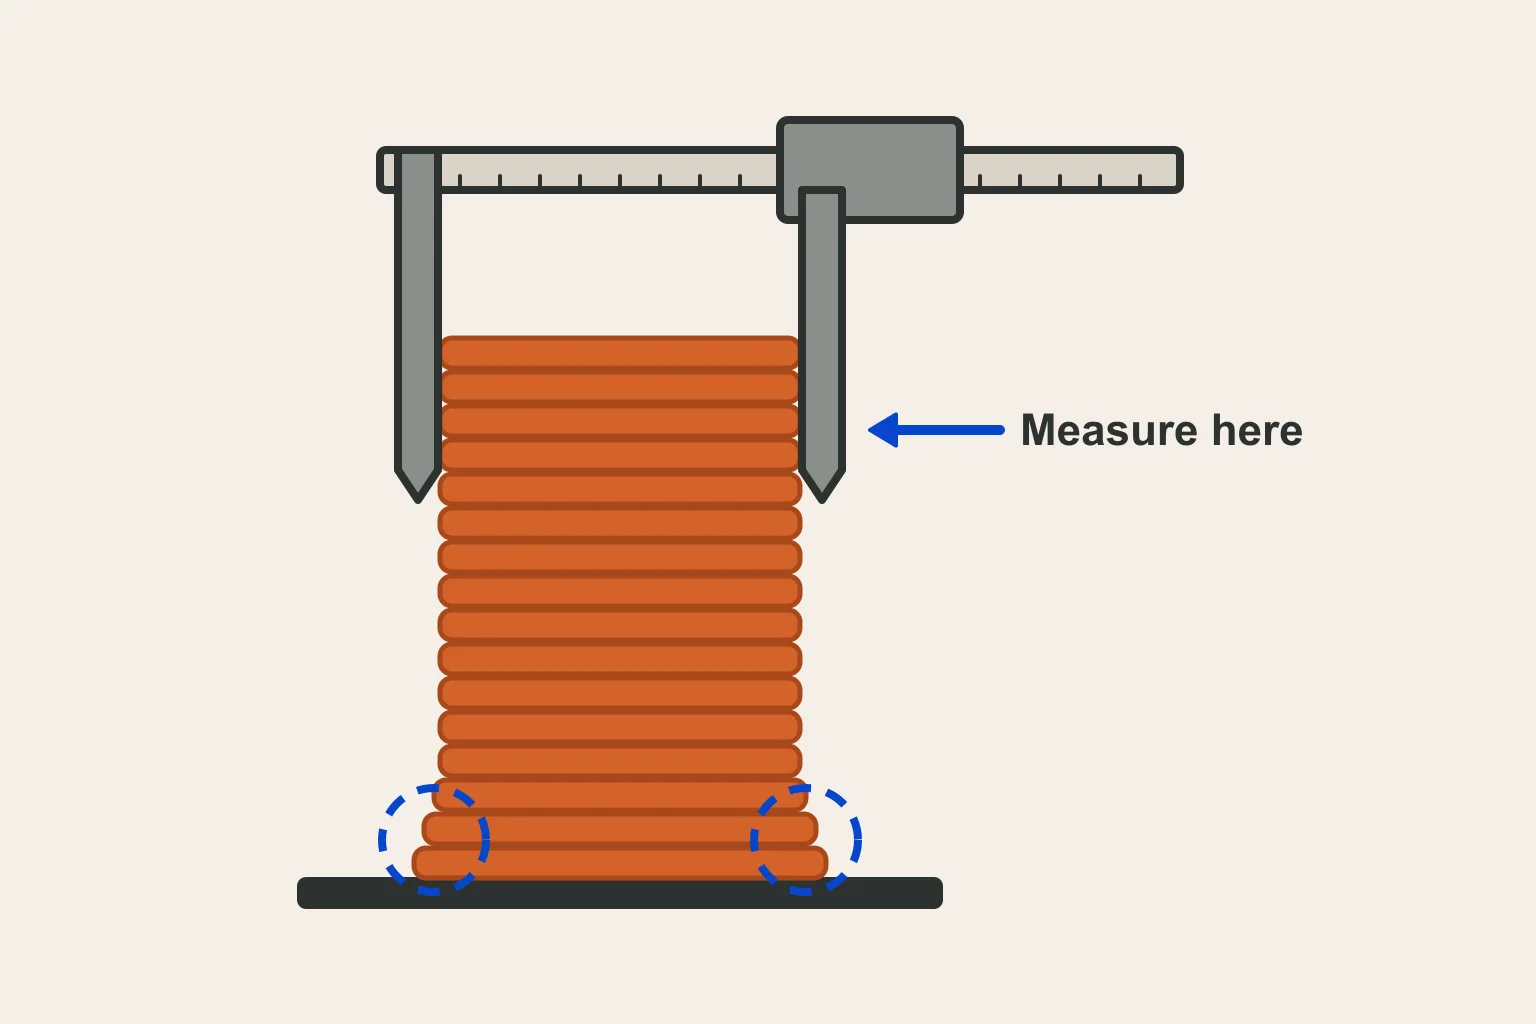
Calipers and a purpose-made test piece tell you much more than a failed assembly. Simplify3D warns that a nozzle too close to the bed on the first layer can make the next 10 to 20 layers oversized, and suggests printing a test of 50 to 100 layers and measuring only the top 20 or so. Bambu Lab measures its shrinkage test cube with calipers only after it has cooled to room temperature. It also prints compensation tests with the same process profile and filament you plan to use for the real part, and repeats the calibration when you change material.
Measure outer sizes and holes separately, and note the size of each feature. Bambu Lab points out that perfect precision is impossible, because both machine tolerances and reading tolerances affect the result, and that holes below 1 mm, close to the nozzle size, are hard to tune. Check your reference parts too: in Bambu Lab's screw test, an M6 screw usually measures about 5.9 mm because ISO 6g threads are made slightly undersize.
- Print a test with known outer sizes and holes, using the filament and profile you will use.
- Let it cool to room temperature.
- Measure away from the bottom layers, and record outer sizes and holes separately.
- Compare the error on small and large features before choosing a fix.
Read the pattern of the error
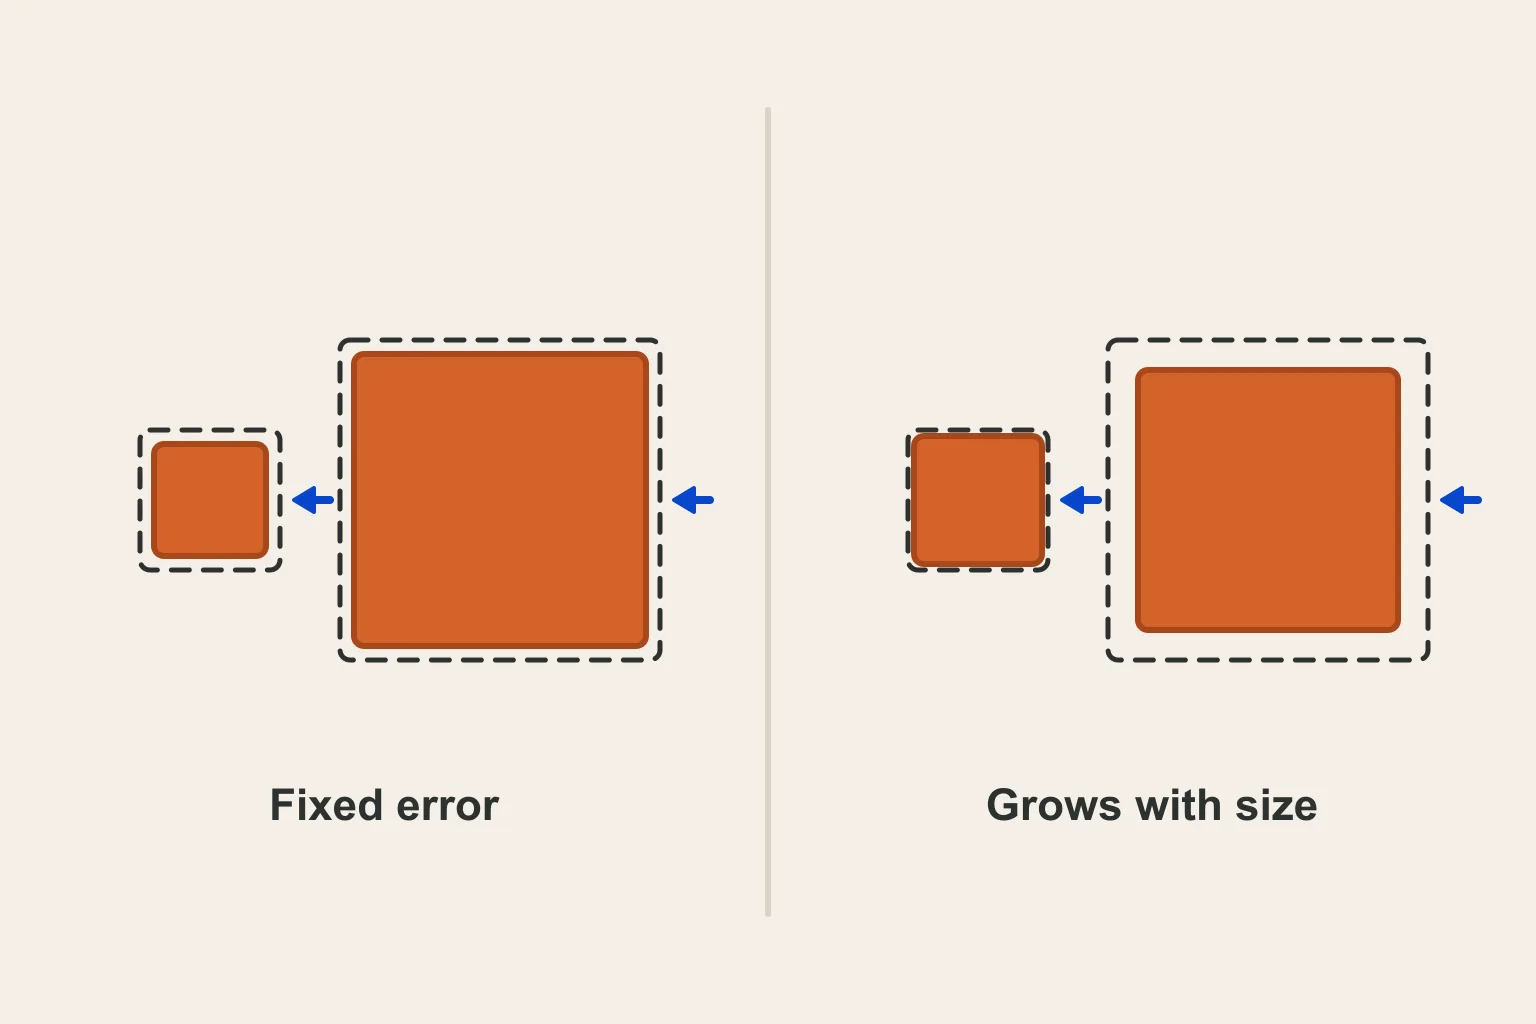
Simplify3D gives the key test. If a part is always about 0.1 mm too large, whether it is 20 mm or 100 mm wide, a fixed offset will correct it. If the error grows with size, for example 0.1 mm short at 20 mm and 0.5 mm short at 100 mm, thermal contraction is the likely cause and the fix is a scale correction.
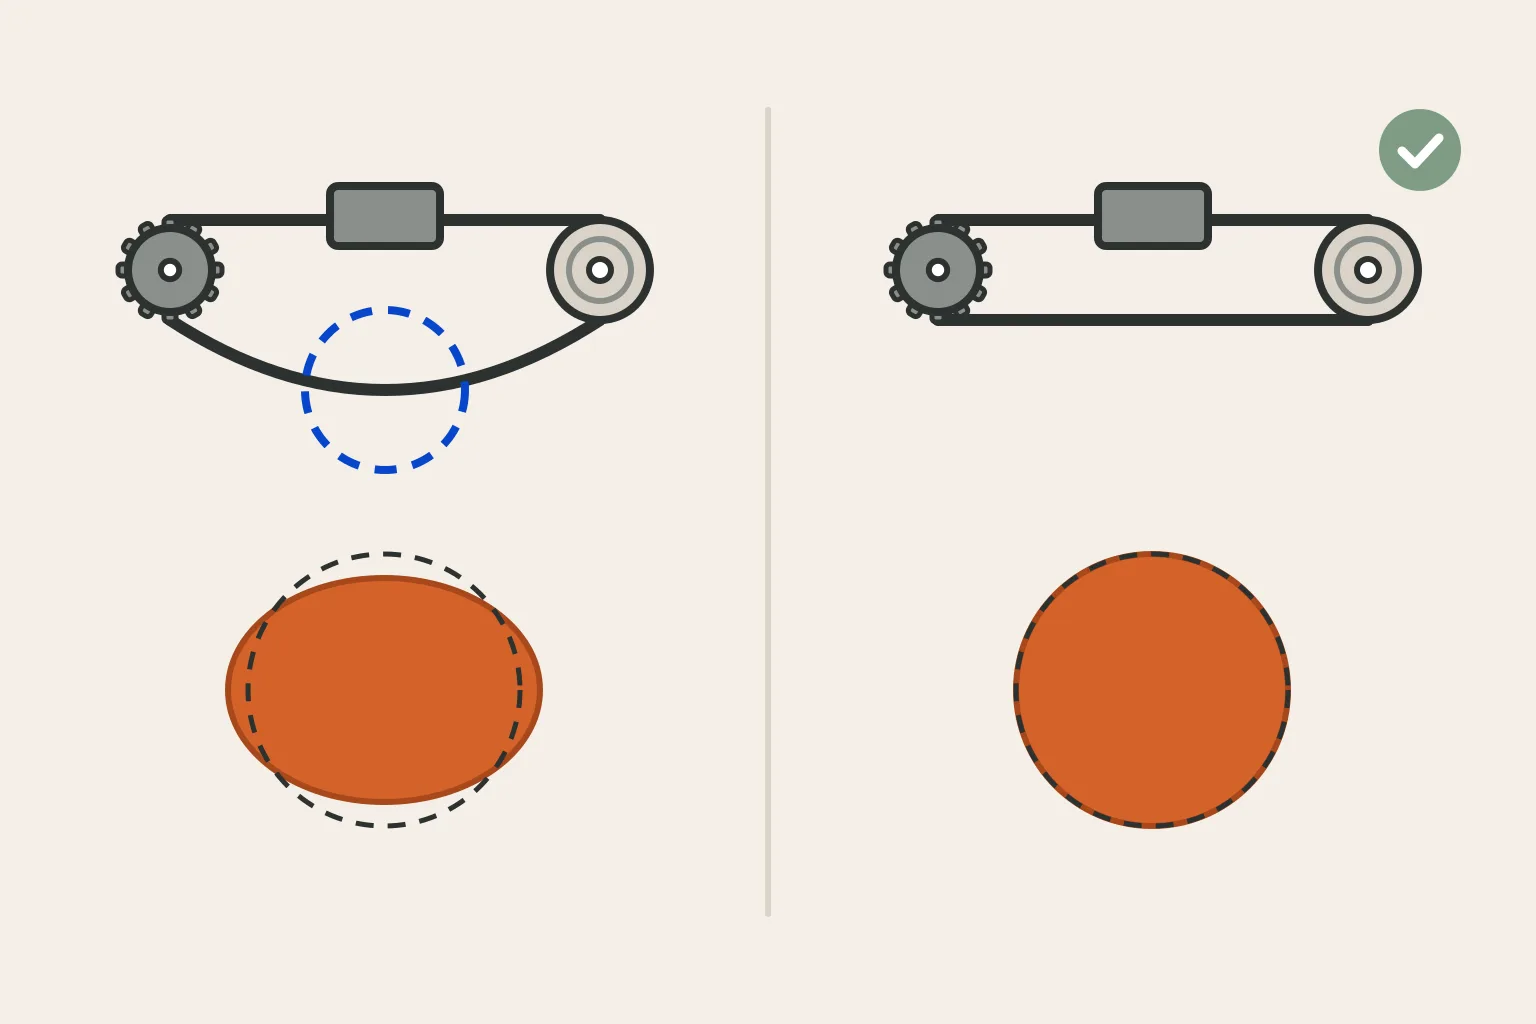
Bambu Lab lists other causes to rule out before you touch compensation: shrinkage, elephant's foot from first-layer squish, moist filament, untuned flow dynamics, holes without chamfers or lead-ins, and the seam, which can affect hole precision. Shape errors such as ovals point to mechanics rather than settings.
| What you measure | Likely cause | Where to look |
|---|---|---|
| Outside too large and holes too small | Too much flow or an uncorrected offset | Flow calibration, then compensation |
| Outside too small with gaps between walls | Too little flow | Under-extrusion checks, flow calibration |
| Error grows with part size | Thermal shrinkage | Filament shrinkage setting |
| Same error at every size | Constant offset | Contour or XY compensation |
| Only the bottom layers are wider | Elephant's foot | First layer height, elephant foot compensation |
| Circles print as ovals | Loose belt | Belt tensioning procedure |
Calibrate flow first
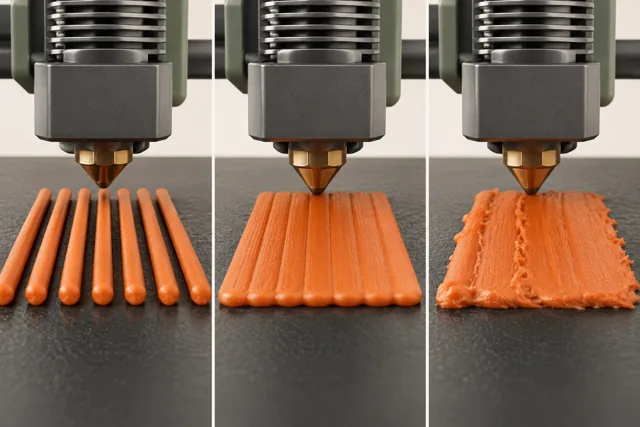
Flow affects every edge. Simplify3D says a low extrusion multiplier leaves gaps between perimeters, holes in top surfaces and parts smaller than intended, while a high one makes top layers bulge and parts larger than intended. Prusa notes that the ideal extrusion multiplier differs by material and color and can vary from spool to spool, usually landing between 0.9 and 1.1, and that a new printer straight from the factory does not normally need the procedure.
Calibrate flow with your slicer's method before applying any size offset; the over-extrusion guide walks through the tests. Otherwise a compensation value can end up hiding a flow error, and it will only be right for the model you tuned it on. OrcaSlicer's tolerance calibration page likewise asks you to follow its recommended calibration order before tuning compensation.
Correct shrinkage for each material
Plastic contracts as it cools. Bambu Lab explains that this thermal contraction makes the finished part smaller, mostly in X and Y, and that different filaments shrink by different amounts. Prusa says ABS parts tend to shrink slightly after cooling, usually by around 1 to 2 percent, and recommends printing a test object to compare with the model. Simplify3D also singles out high-temperature materials like ABS. According to Bambu Lab, fiber-reinforced filaments shrink less because the fibers restrain the base polymer.
Slicers store shrinkage per filament but express it differently, so read the field before typing a number. PrusaSlicer's Shrinkage compensation XY takes the shrinkage itself: if you measured 99 mm instead of 100 mm, you enter 1%. Bambu Studio's Shrinkage field takes measured size divided by designed size, so an 18 mm result on a 20 mm cube becomes 90%, and 100% means no change. Cura's Horizontal Scaling Factor Shrinkage Compensation scales the model by the factor you give, with 100% as the default, and has a separate vertical factor. OrcaSlicer lists Shrinkage (XY) and Shrinkage (Z) among its filament compensation settings. Simplify3D suggests scaling the model directly, for example to 100.5% for a 0.5% shrink.
Bambu Lab adds that its shrinkage setting scales only the outer X and Y size and does not correct internal features such as holes, so use hole and contour compensation for those. It also recommends calibrating each model separately when assembly requirements are high, because different shapes show different errors.
Use hole and contour compensation
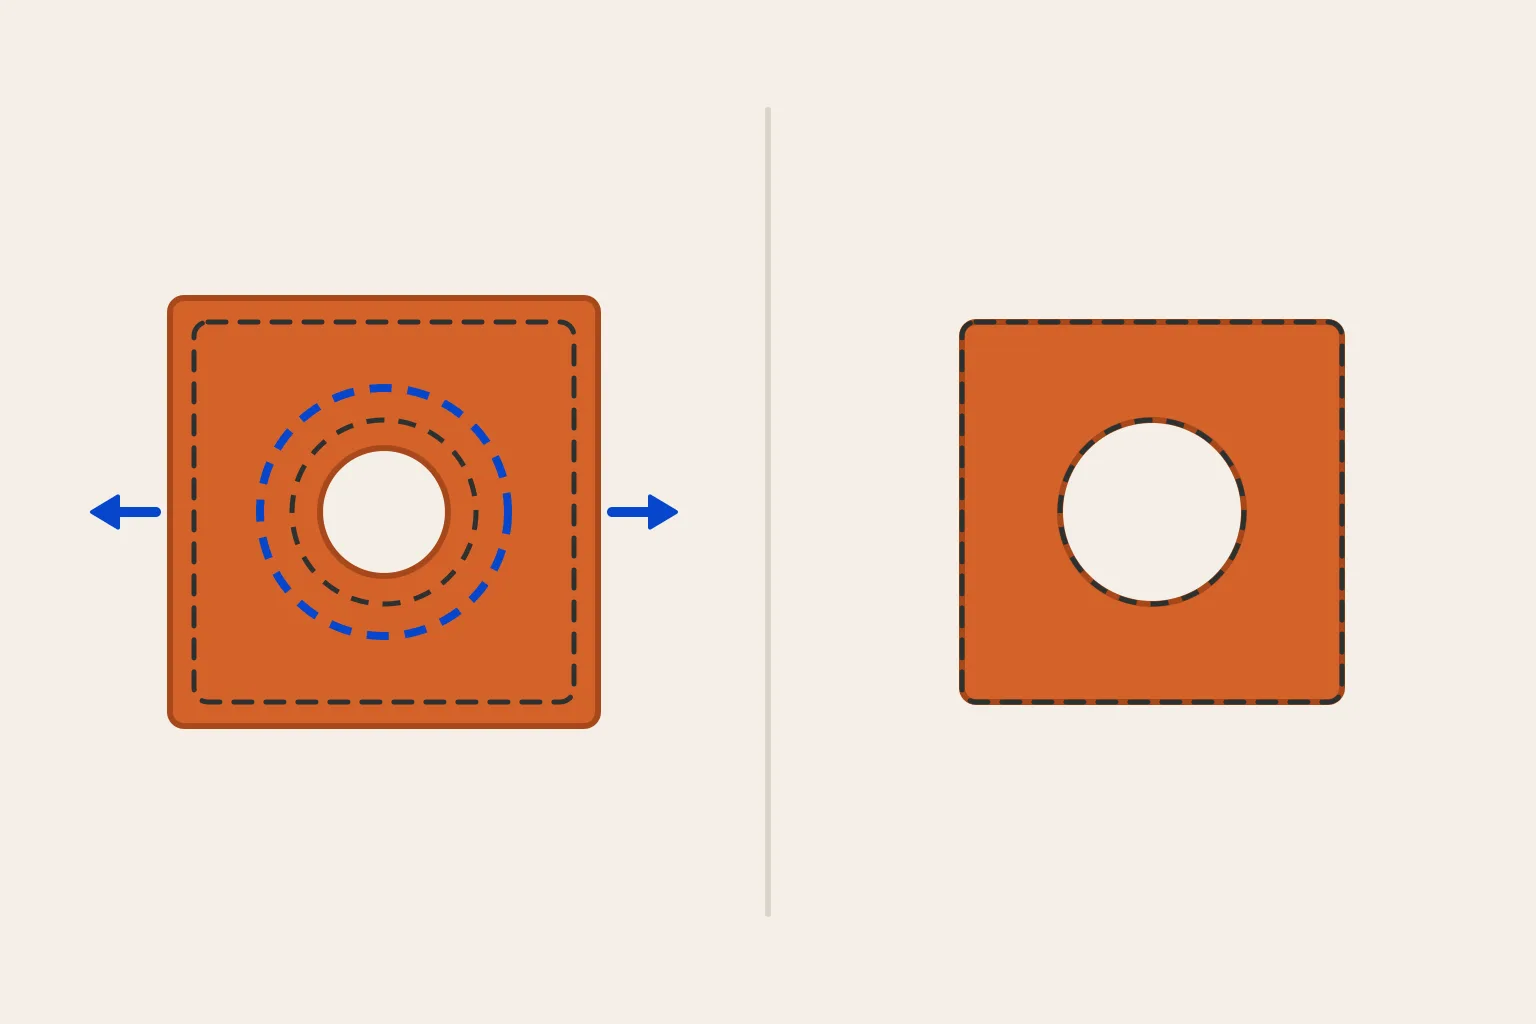
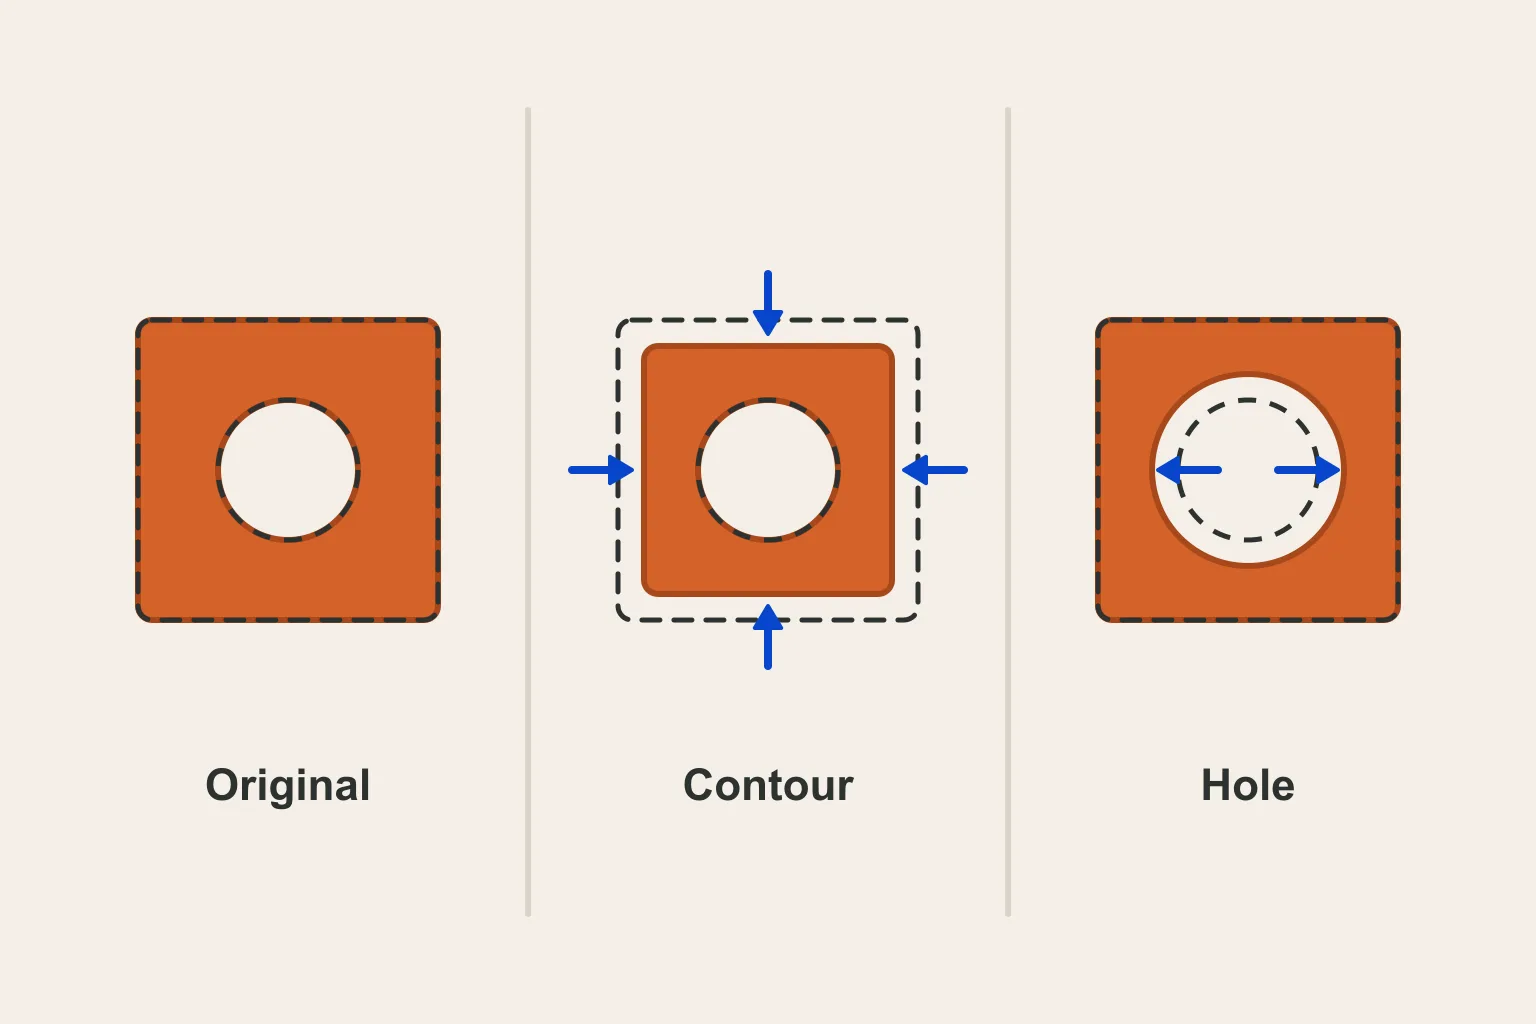
When flow and shrinkage are right but fits are still off, adjust the geometry. Bambu Studio's X-Y hole compensation changes only holes and its X-Y contour compensation changes only the outer size. The hole diameter grows by twice the value you enter, because the offset applies to every side. In Bambu Lab's example, an M6 test hole measured 5.66 mm, 0.24 mm undersized, so half that value went into the setting and the next hole came out 0.04 mm oversized.
OrcaSlicer's settings work the same way, with positive values making holes or contours bigger. Its tolerance test uses hexagonal holes with 0.0 to 0.4 mm of clearance, checked with a 6 mm hex key or the printed tester. Simplify3D notes that an offset works best when the error is the same across part sizes. OrcaSlicer also offers polyholes, which print round holes as polygons with fewer, flat sides so they come out closer to the intended diameter.
| Slicer | Setting | What it changes |
|---|---|---|
| Bambu Studio | X-Y hole compensation; X-Y contour compensation | Holes only; outer contour only |
| OrcaSlicer | X-Y hole compensation; X-Y contour compensation | Holes only; outer contours only |
| PrusaSlicer | XY Size Compensation | Grows or shrinks the whole object in XY |
| UltiMaker Cura | Horizontal Expansion; Hole Horizontal Expansion | All polygons in each layer; holes only |
| Simplify3D | Horizontal size compensation | Offsets the edges in X and Y |
Separate elephant's foot from true oversize
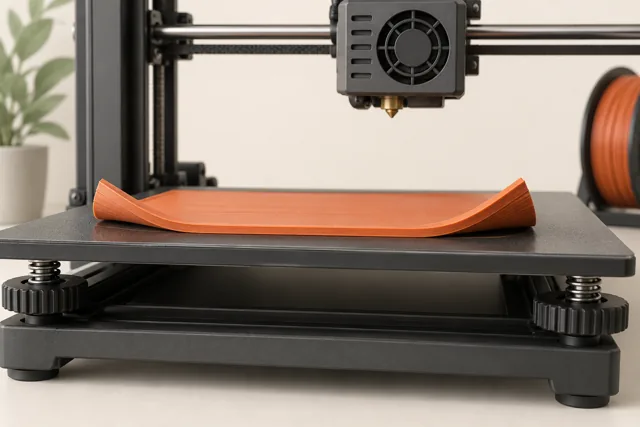
An oversized base is often first-layer squish. Prusa explains that the first layer is pressed against the heated bed and usually ends up a little wider than it should be, which matters for tight fits. If only the bottom measures wide, fix the first layer height and use elephant foot compensation instead of shrinking the whole part.
These settings correct only the first layers. PrusaSlicer's Elephant foot compensation shrinks the first layer by the value you enter. OrcaSlicer's version tapers the correction over a chosen number of layers and skips it when a raft is used. Cura's Initial Layer Horizontal Expansion accepts a negative value for the same purpose. Prusa warns that if the brim stops connecting to the part, the value is probably too high. The elephant's foot guide covers the full fix.
Check belts, and leave steps per mm alone
Mechanical faults usually show up as shape errors rather than even size errors. Bambu Lab says a loose belt on a CoreXY printer can make circles look like ovals and cause other dimensional issues. Prusa lists an irregular shape instead of a round circle on a printed cylinder among the effects of loose belts, along with layer shifting and ghosting. Follow your printer's tensioning procedure. On Bambu Lab's X1 and P1 series, for example, you loosen the tensioner screws, move the toolhead and let the spring set the tension before retightening. Prusa also describes holding the motor shaft still and pushing the carriage by hand: there should be no slack in the belt.
Do not edit steps per millimeter to chase a size error measured on a printed part. Klipper's documentation warns that a measure-and-trim method is not accurate enough for the X, Y or Z axes and will likely make the configuration worse. It calculates belt axes from the hardware instead: belt pitch times pulley teeth, so a 2 mm belt on a 20-tooth pulley gives 40. Marlin stores the equivalent value with M92. If dimensions stay wrong on a stock printer after flow, shrinkage and compensation are set, contact the manufacturer with your measurements.
Common questions
Why are my holes smaller than designed?
Shrinkage and over-extrusion both close holes up, and Bambu Lab notes that the seam, missing chamfers and very small diameters also play a part. Calibrate flow first, then use hole compensation, remembering that the diameter changes by twice the value.
Should I just scale the model in the slicer?
Scaling suits an error that grows with part size, which Simplify3D links to thermal contraction. For an error that stays the same at every size, Simplify3D recommends an offset setting instead.
How much does filament shrink?
Bambu Lab says the amount varies by filament, and Prusa puts ABS at around 1 to 2 percent. Measure your own filament on a test part rather than borrowing a number.
Can I fix dimensions by changing steps per mm?
Klipper's documentation advises against it for the X, Y and Z axes, because measuring prints is not accurate enough. Those values come from the belt, pulley and lead screw hardware.
Continue with the sources
- Dimensional Accuracy Simplify3D · Checked 2026-11-02
- 3D Prints Shrinkage: Causes and Solutions Bambu Lab · Checked 2026-11-02
- XY Hole / Contour compensation Bambu Lab · Checked 2026-11-02
- X1/P1 Series Belt tensioning procedure Bambu Lab · Checked 2026-11-02
- Elephant foot compensation Prusa Research · Checked 2026-10-16
- Extrusion multiplier calibration Prusa Research · Checked 2026-10-16
- Filament Tolerance Calibration OrcaSlicer · Checked 2026-11-02
- ABS Prusa Research · Checked 2026-11-02
- PrusaSlicer 2.9.6 setting definitions (PrintConfig.cpp) Prusa Research · Checked 2026-11-02
- Cura setting definitions (fdmprinter.def.json) UltiMaker (GitHub) · Checked 2026-11-02
- Precision (print settings) OrcaSlicer · Checked 2026-11-02
- Adjusting belt tension (MK4/S, MK3.9/S, MK3.5/S, MK3/S/+) Prusa Research · Checked 2026-11-02
- Rotation distance Klipper · Checked 2026-11-02
- M92 - Set Axis Steps-per-unit Marlin Firmware · Checked 2026-11-02
This guide synthesizes the cited references and includes illustrative examples, not hands-on test results. Follow the instructions for your exact printer, material, and software version. Diagrams simplify geometry and equipment; they are not photographs, measured results, or model-specific setup instructions.